Palysse Documentation
Comprehensive guides to help you use our takeoff software effectively
1. Quick Start Guide
1.1 Accessing the Dashboard & Creating a Project
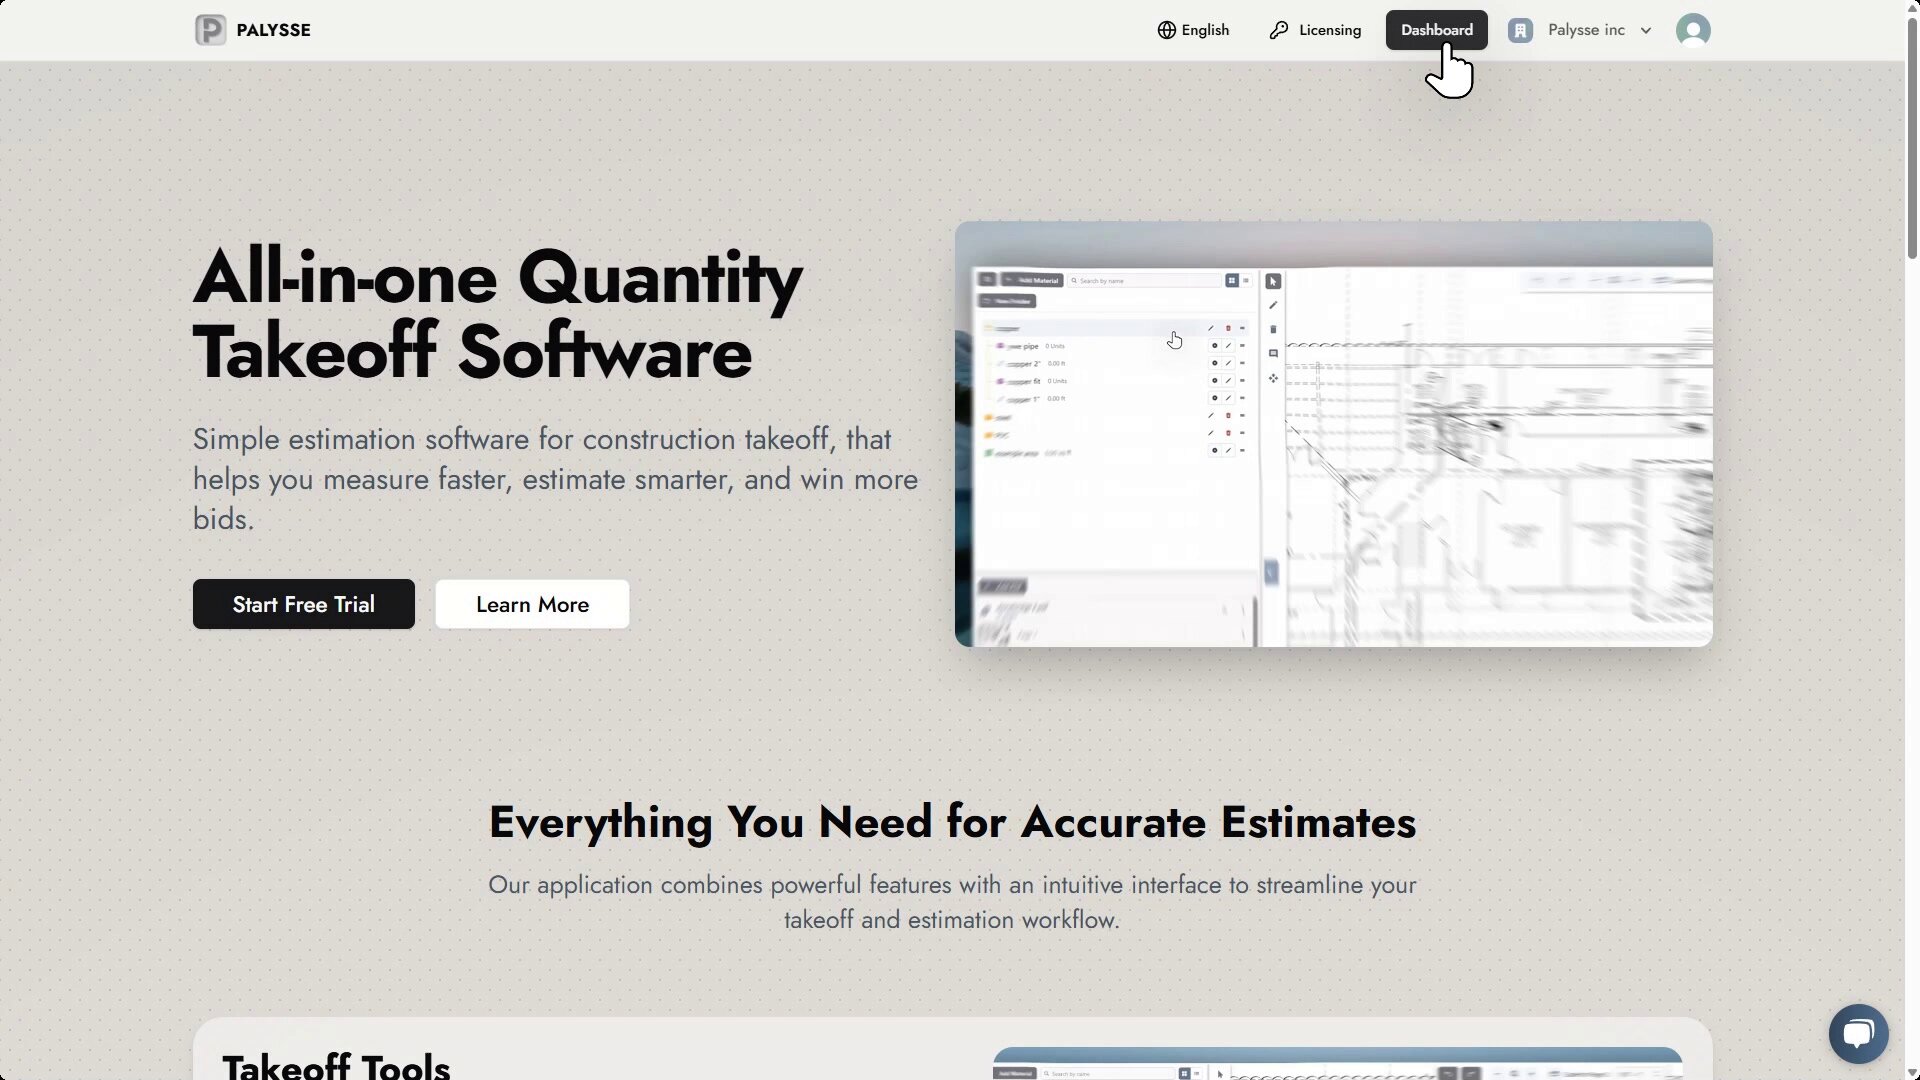
After logging in (or accessing the main interface), locate the Dashboard button in the top navigation bar. Click it.
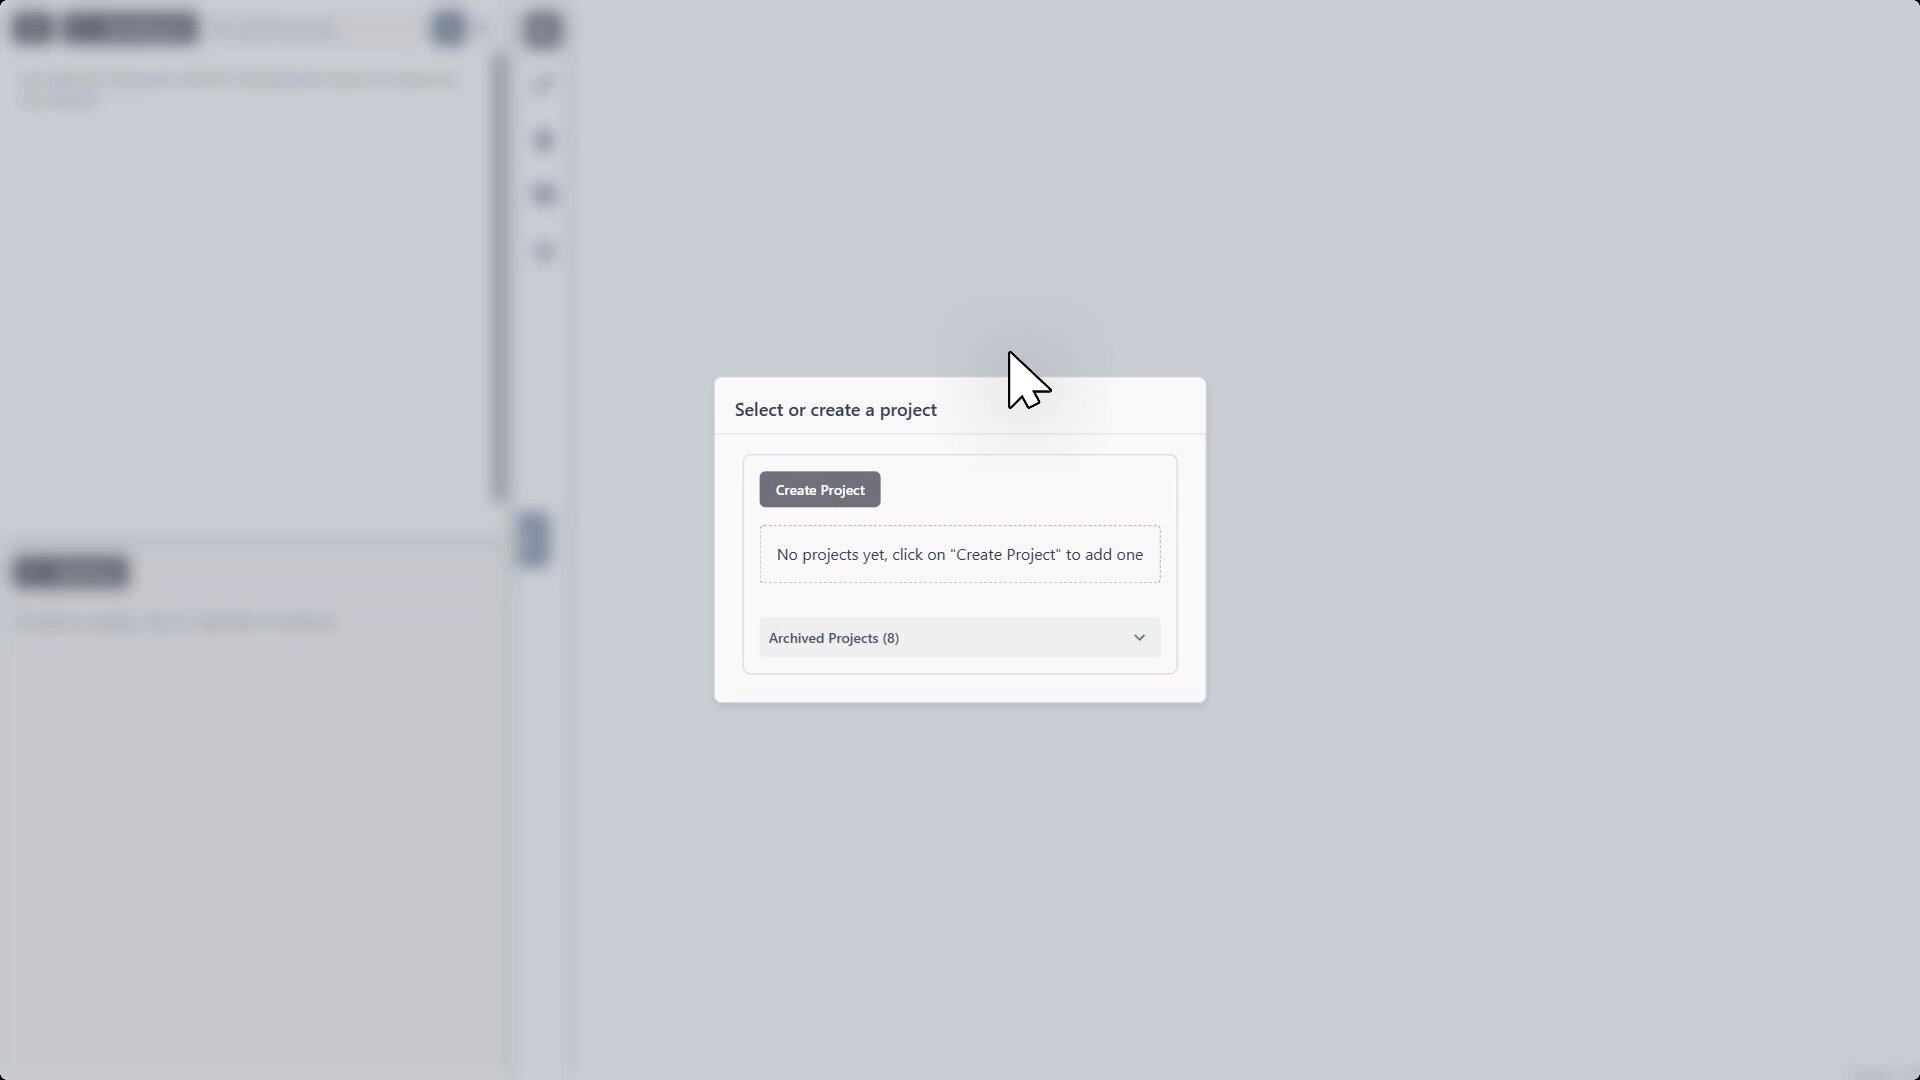
You will be presented with a Select or create a project dialog.
Click the Create Project button.
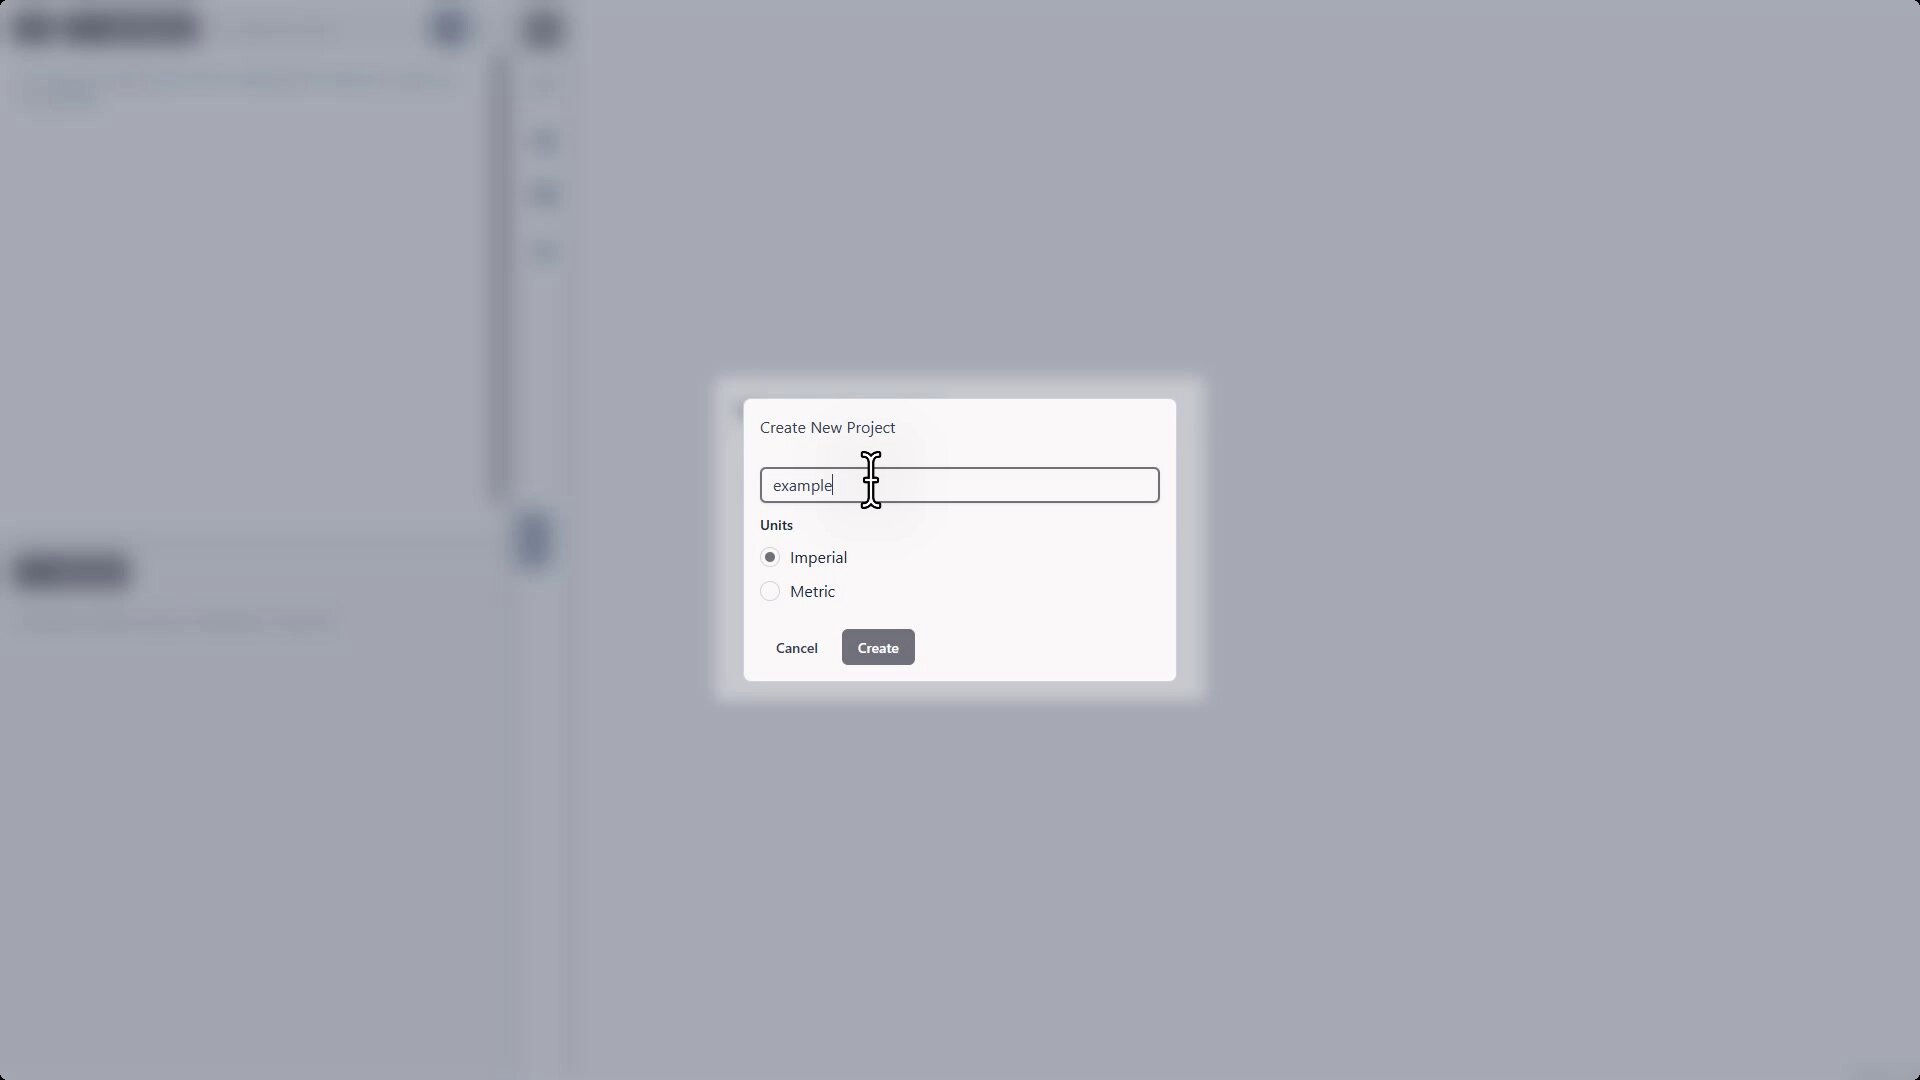
In the Create New Project dialog:
- Enter a descriptive Project name (e.g., "example").
- Select the measurement Units (Imperial or Metric). Imperial is often the default.
Click the Create button.
1.2 Uploading Plans
Once your project is created, you need to add your plan files.
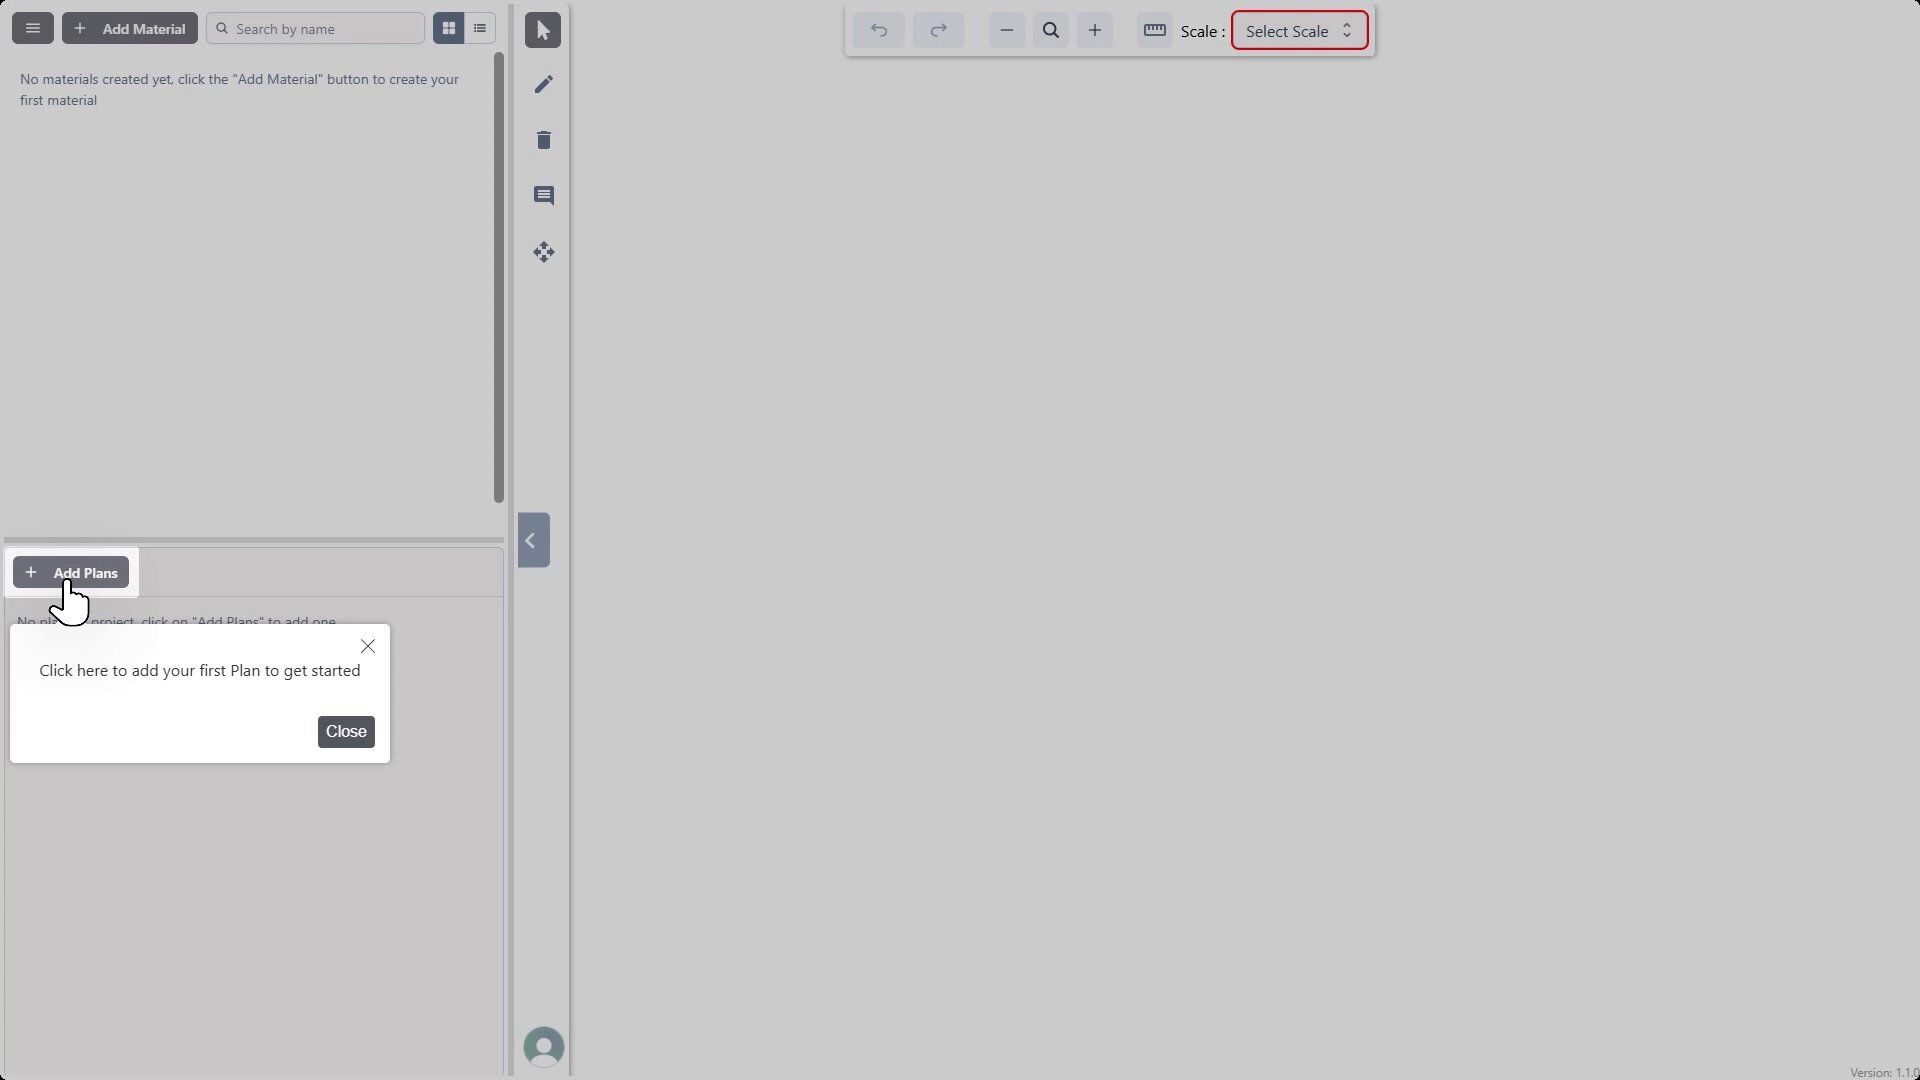
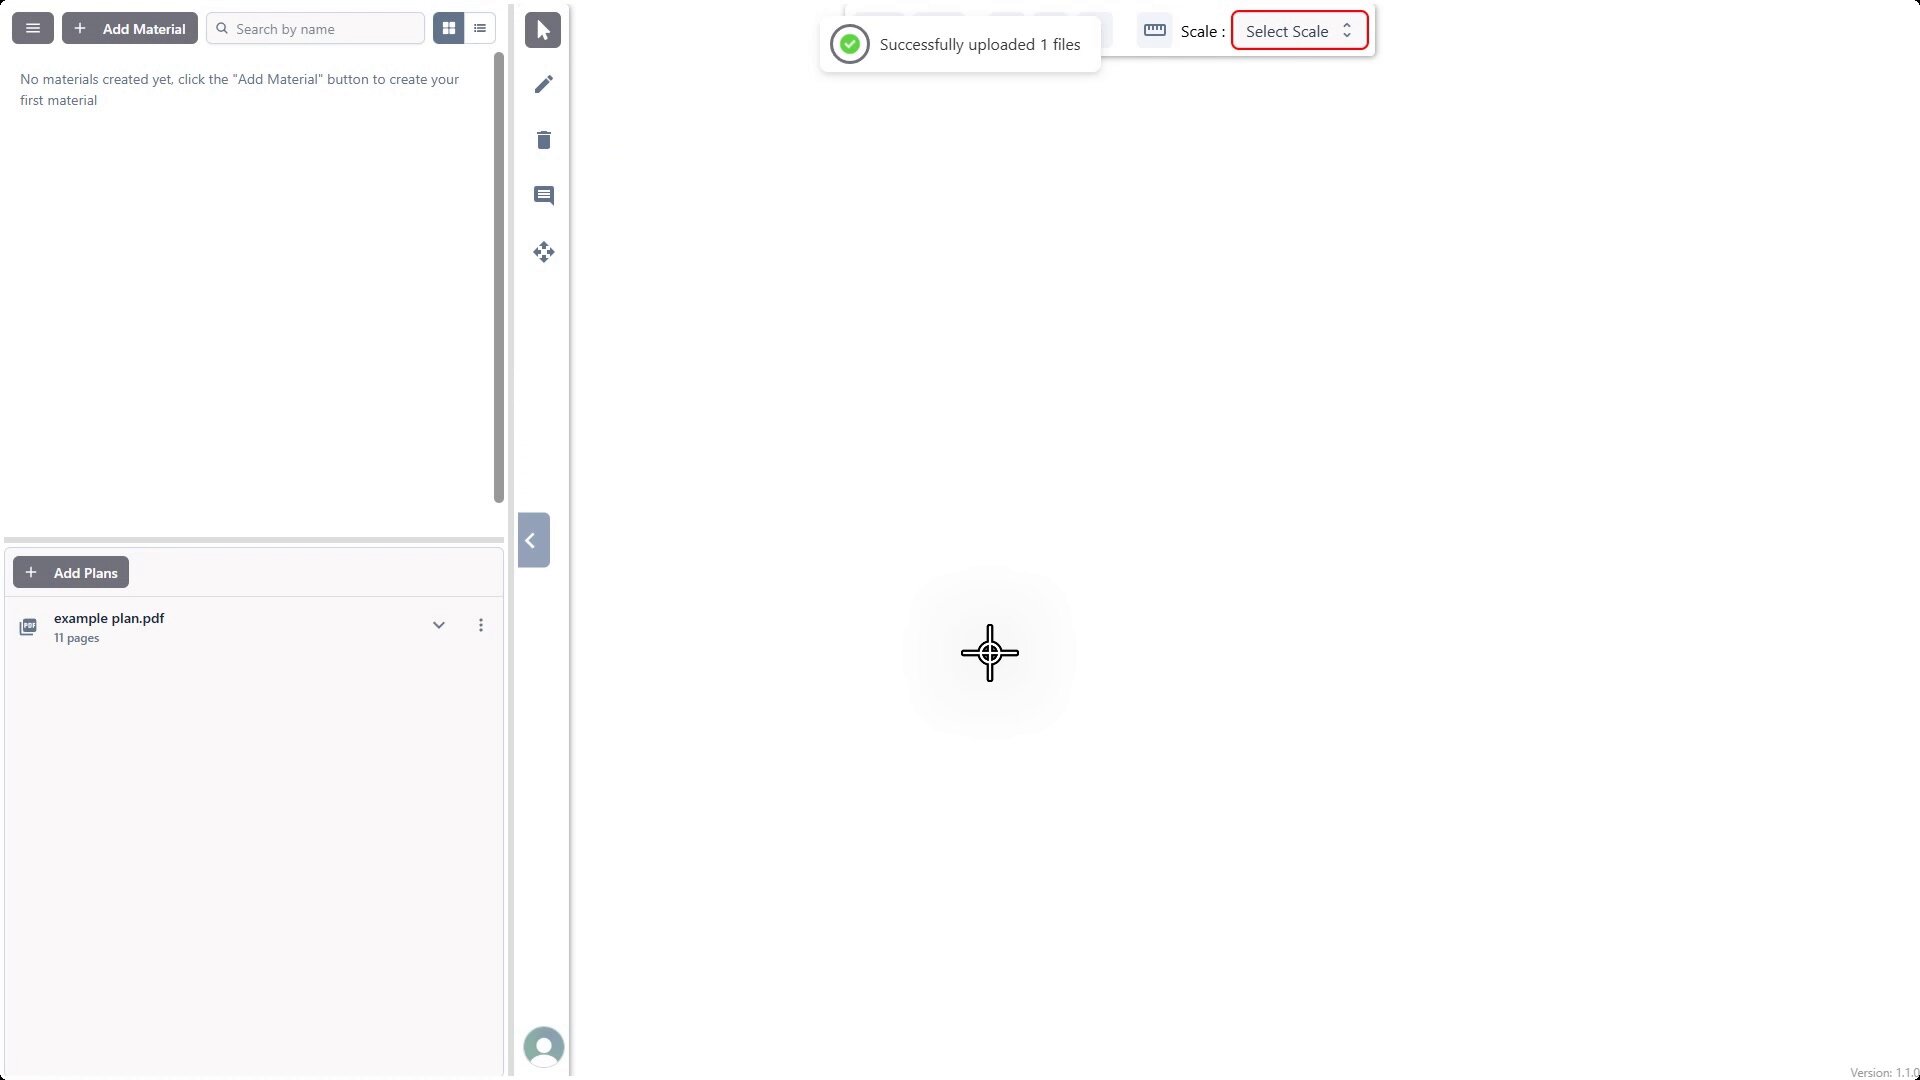
Inside the project view, you'll see panels on the left. Click the + Add Plans button located in the lower-left panel.
A standard file browser window will open. Navigate to the location of your PDF plan file(s).
Select the desired PDF file (e.g., "example plan.pdf").
Click Open.
Palysse will show an upload progress indicator. Once complete, a confirmation message ("Successfully uploaded X files") will appear briefly, and the uploaded plan set will be listed in the left panel.
1.3 Navigating Plans
You can easily switch between pages in your uploaded plan set.
In the left panel, click the arrow next to the uploaded plan set name (e.g., "example plan.pdf") to expand it. This reveals a list or thumbnails of individual pages.

Click on any Page (e.g., "Page 3") to load it into the main viewing area (canvas).
1.4 Setting the Scale (Single Scale)
Accurate takeoffs require setting the correct scale for each plan sheet.
Navigate to the page from the left panel (e.g., Page 3).
Locate the scale information printed directly on the drawing sheet. You may need to zoom in.
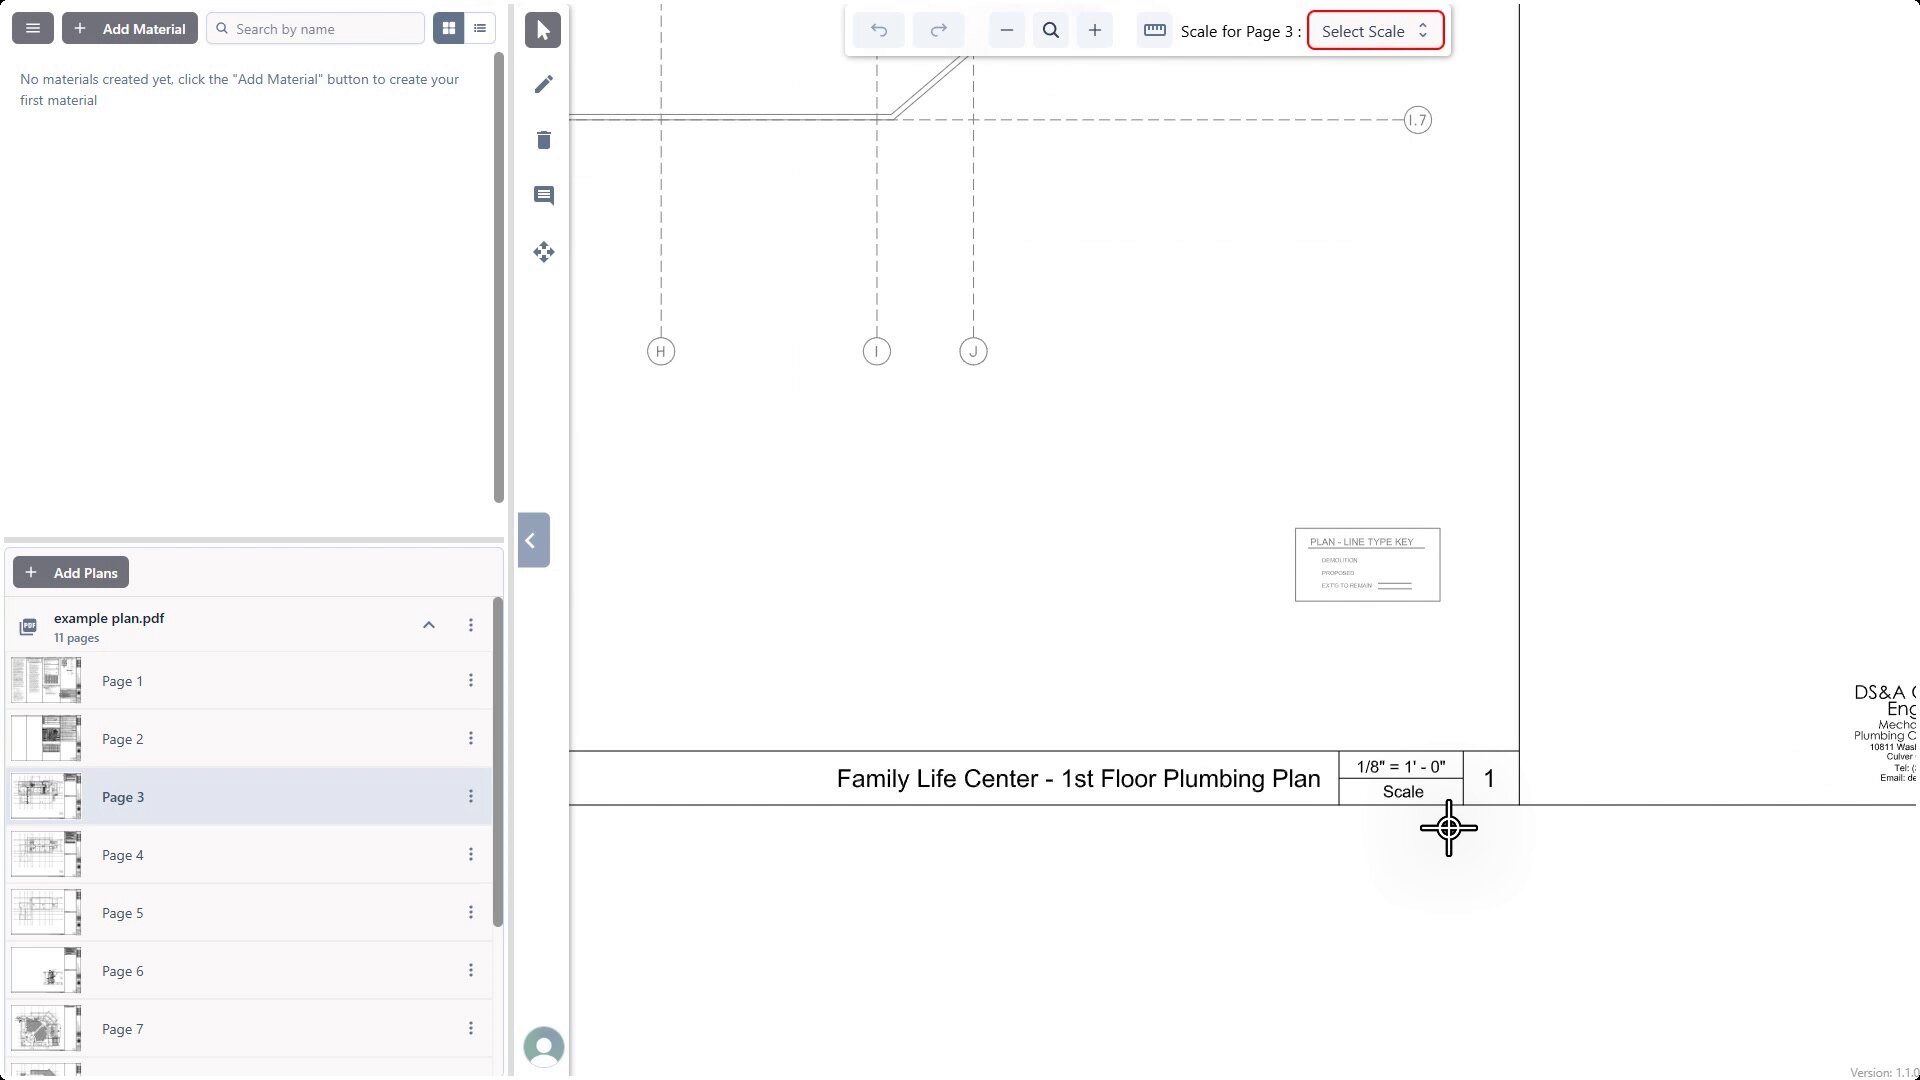
Find the Scale for Page X: Select Scale dropdown menu in the top toolbar.
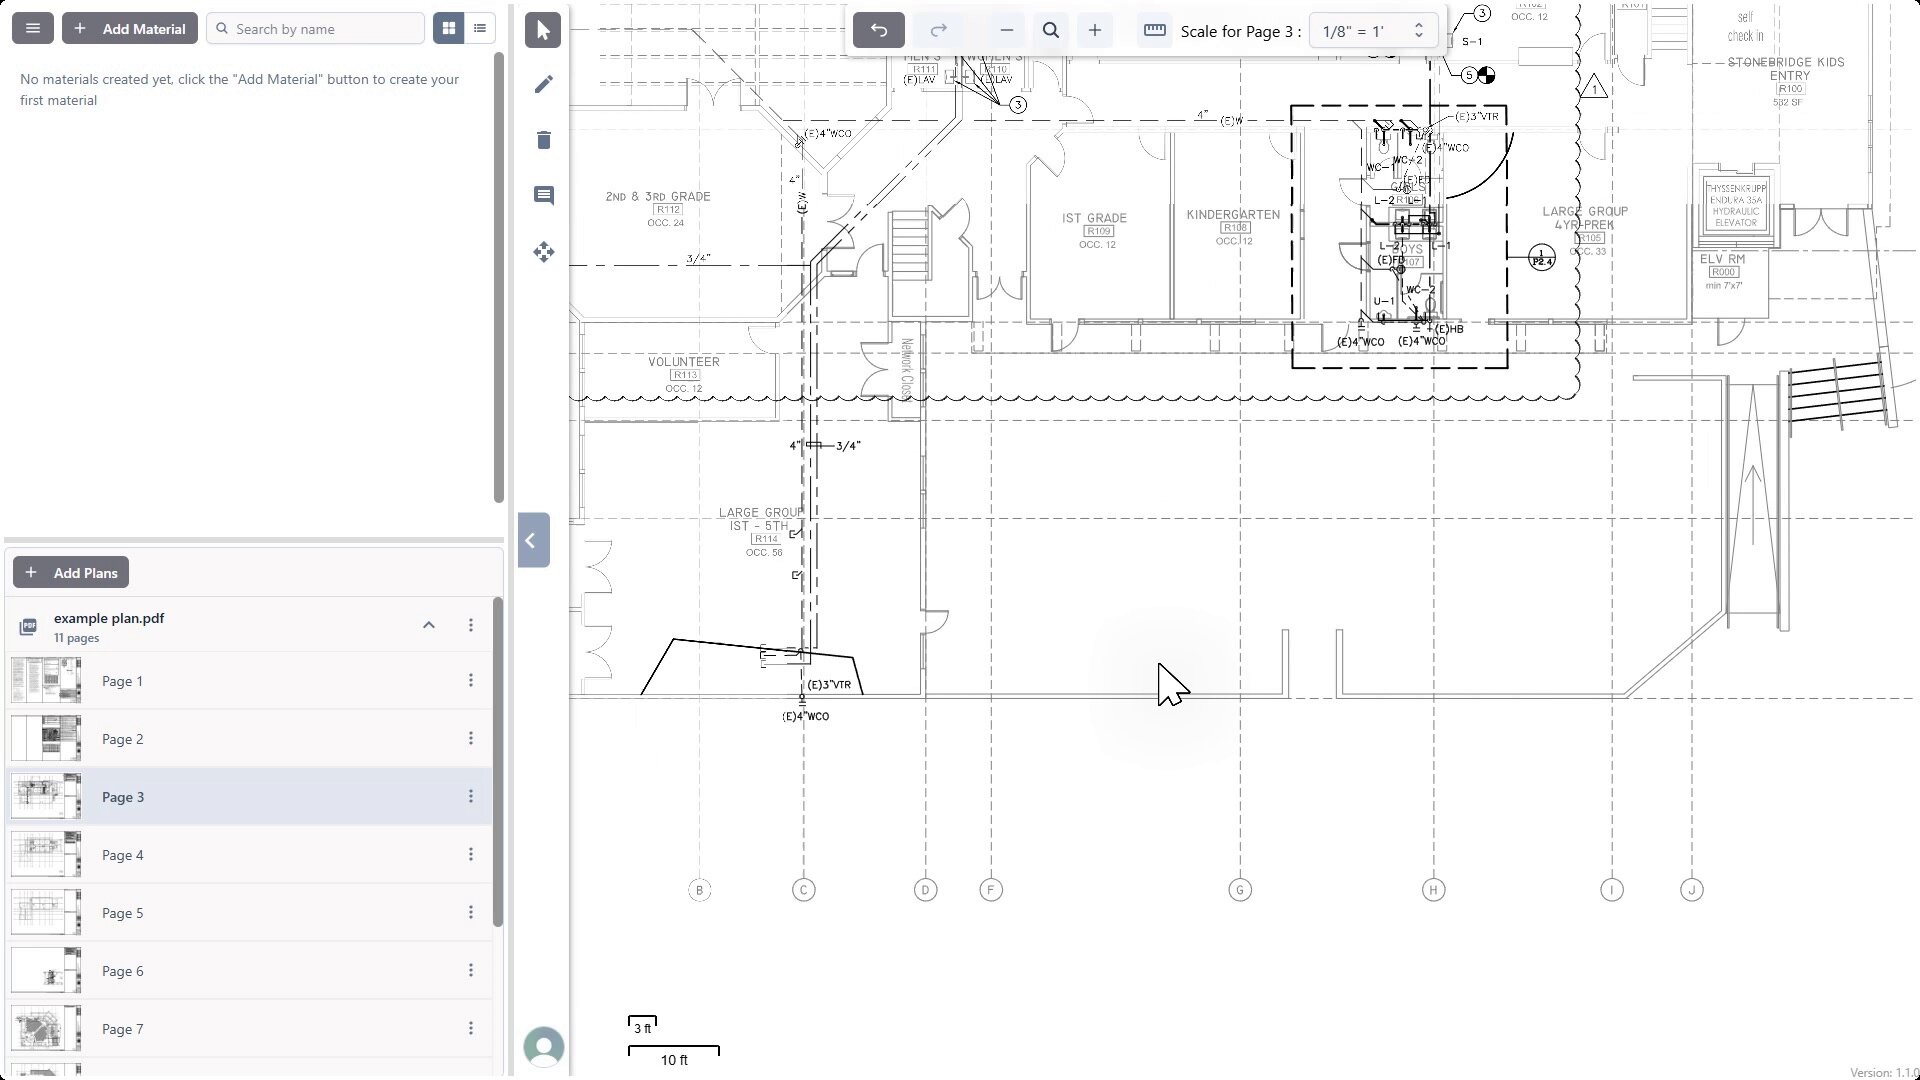
Click the dropdown and select the scale that matches the drawing (e.g., "1/8" = 1'").

Once selected, the scale is applied to the page. A visual scale indicator (e.g., a bar showing 10 ft) might appear on the canvas for reference.
Always verify the scale is correct by checking the length of a known dimension on the drawing.
2. Performing Takeoffs
2.1 Understanding the Interface
The main project view typically consists of:
- Left Panel (Top): Materials/Estimate list. Buttons for adding materials, folders, and switching to the estimate summary.
- Left Panel (Bottom): Plans list. Shows uploaded plan sets and their pages.
- Main Canvas: Where the selected plan page is displayed and takeoffs are performed.
- Top Toolbar: Contains navigation (pan, zoom), scale settings, undo/redo, etc.
- Right Toolbar: Contains tools for different takeoff types (linear, area, count) and annotations (like notes).
2.2 Adding Materials
Before performing a takeoff, you need to define the material or item you are measuring.
In the top-left panel, click the + Add Material button.

The Add Material dialog appears. Fill in the details:
- Type Category: Choose Linear (for lengths), Item (for counts), or Area (for square footage/meterage).
- Type Name: Give the material a clear name (e.g., "example linear", "example item", "example area").
- Cost: Enter the cost per unit (e.g., $/Ft, $/Unit, $/Sq Ft).
- Labor Time: Enter the labor hours per unit (e.g., h/Ft, h/Unit, h/Sq Ft).
- Color: Select a distinct color for this takeoff using the color picker.
- Shape (for Item type): Select an icon shape for counts.
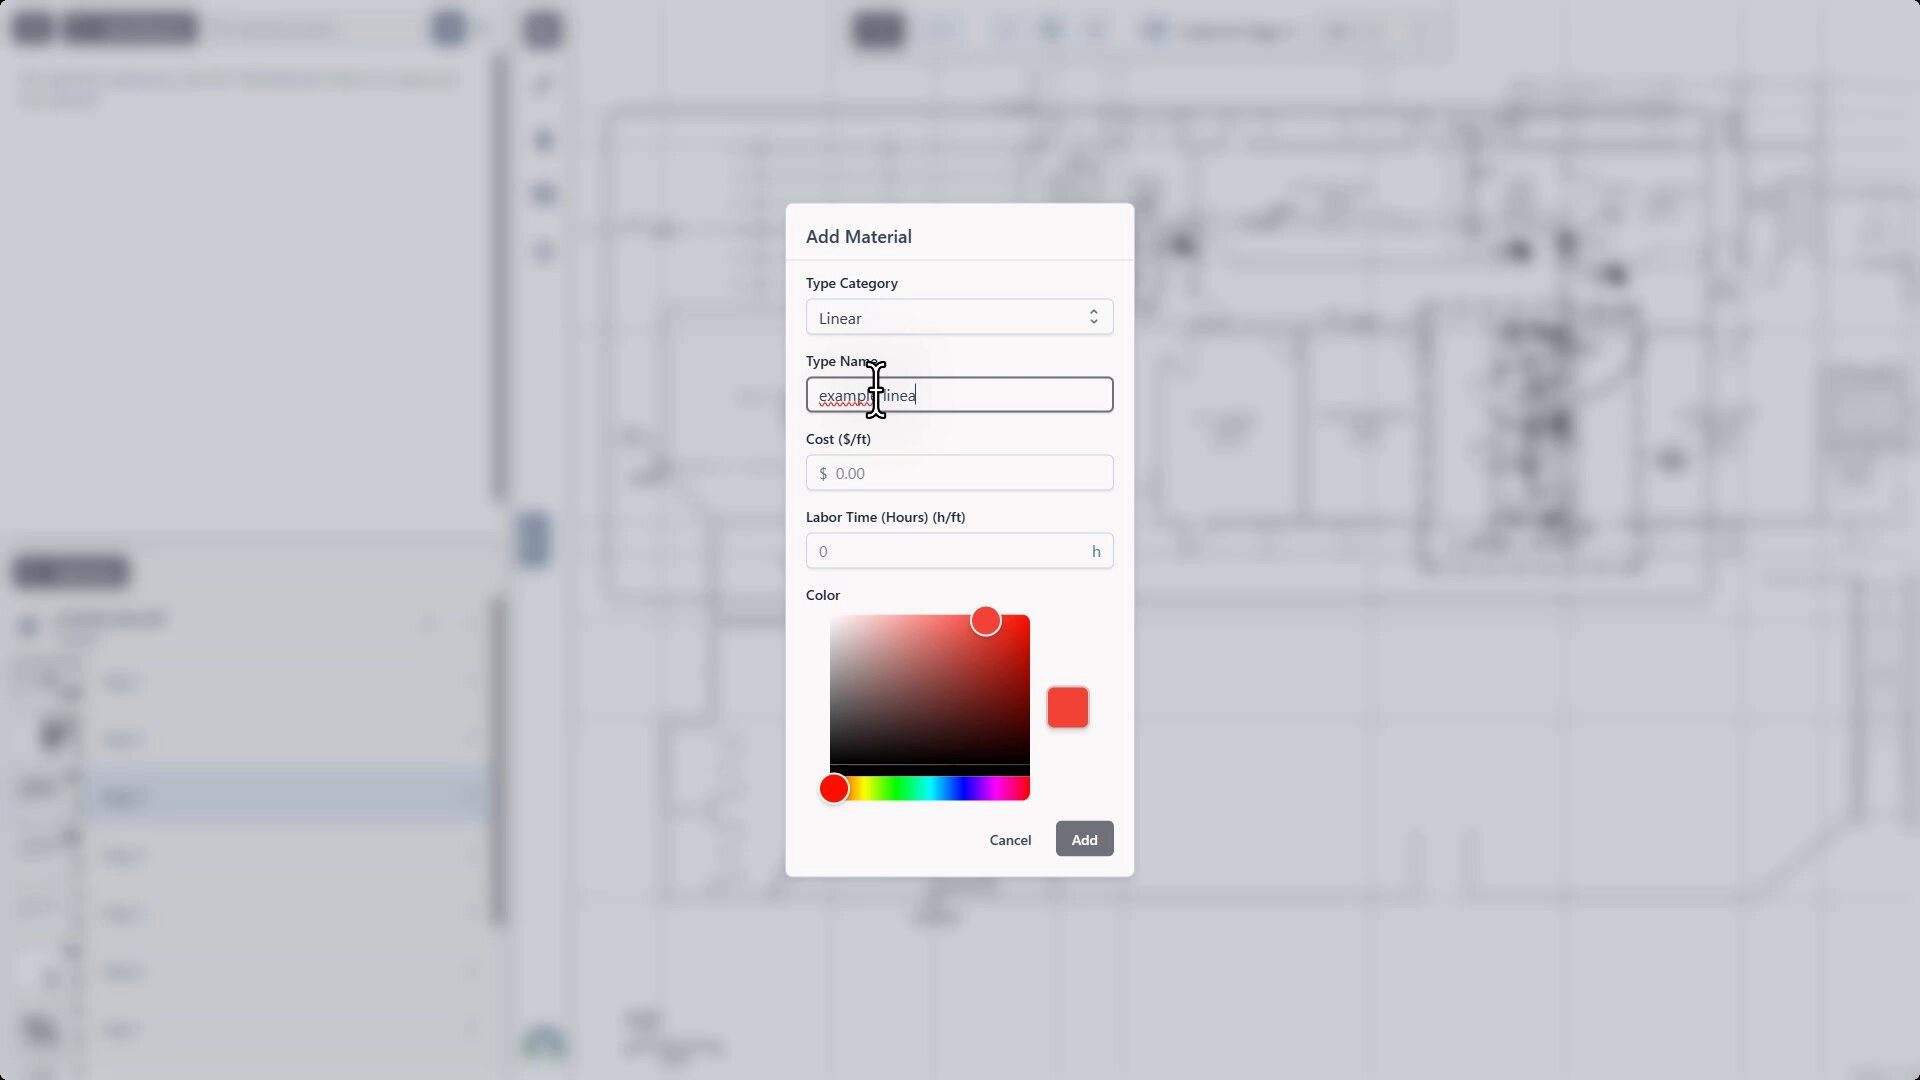
Click Add. The new material will appear in the list in the top-left panel.
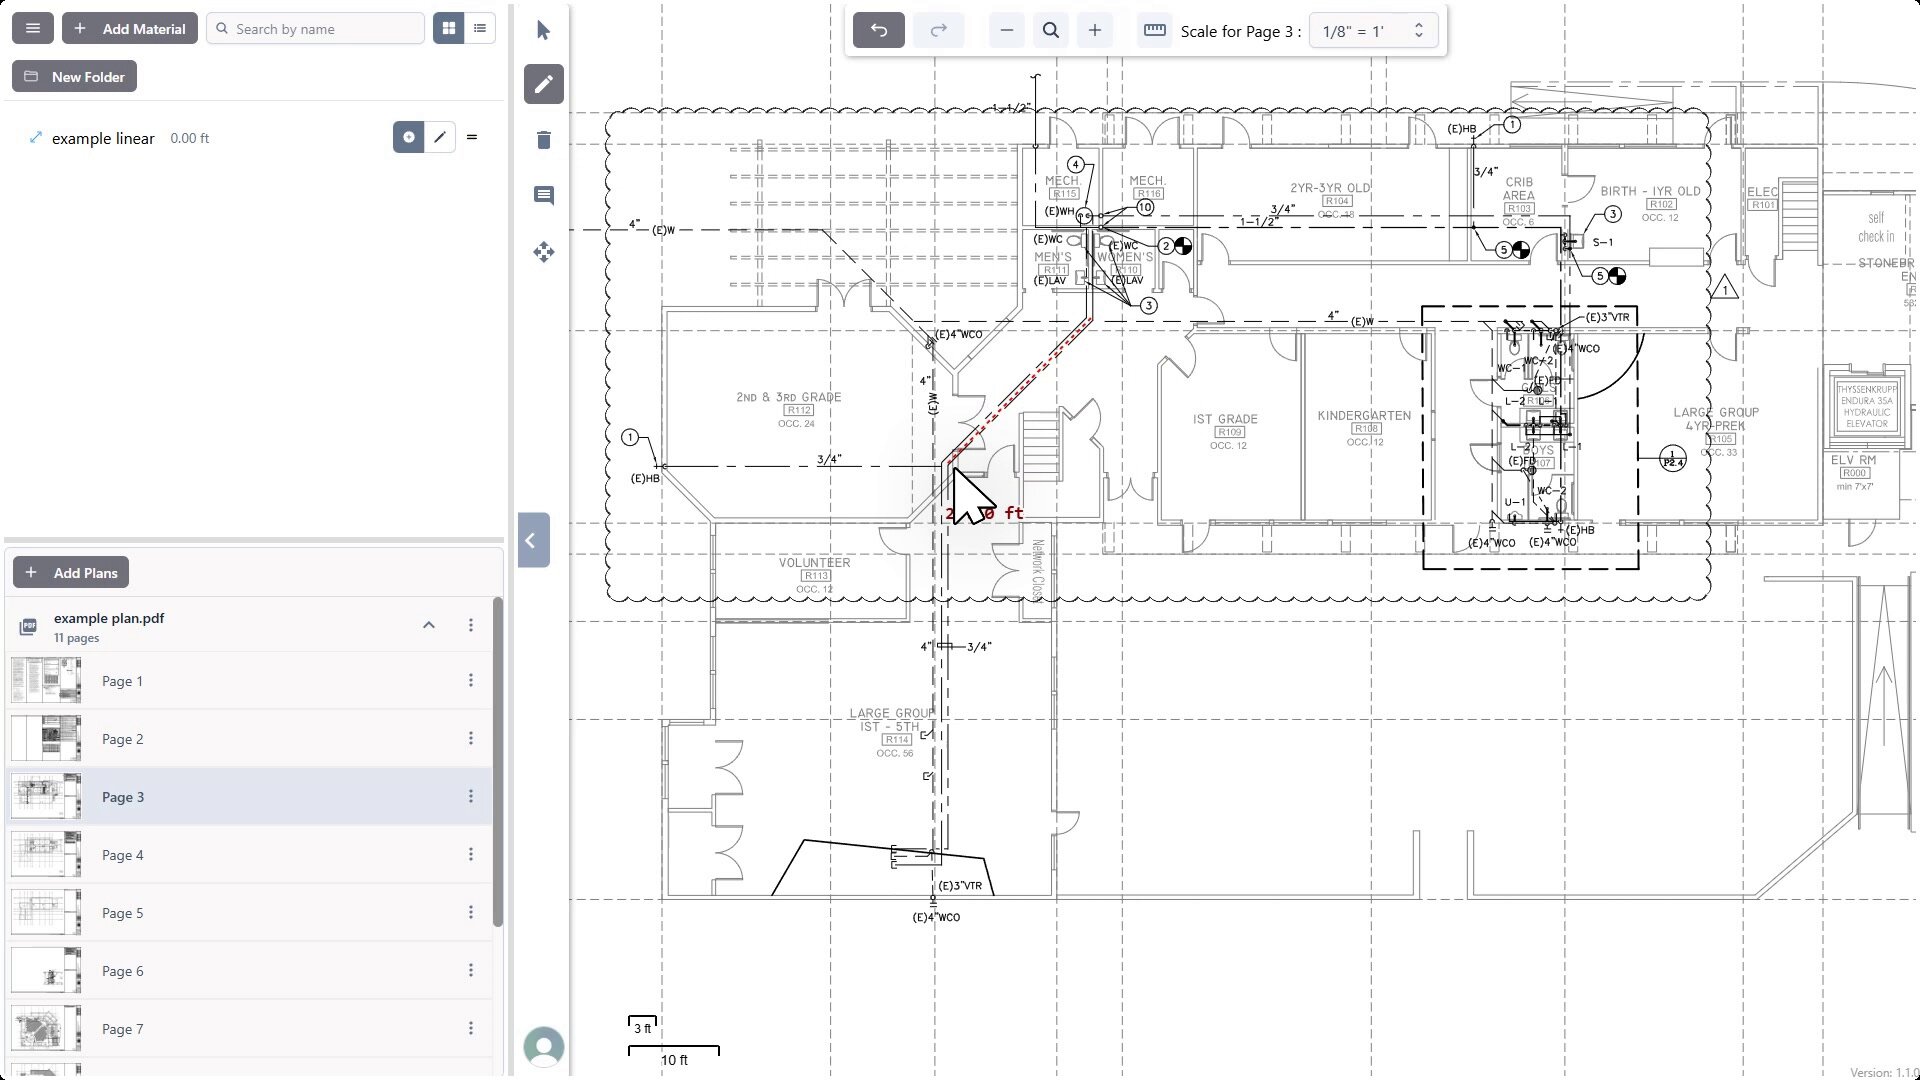
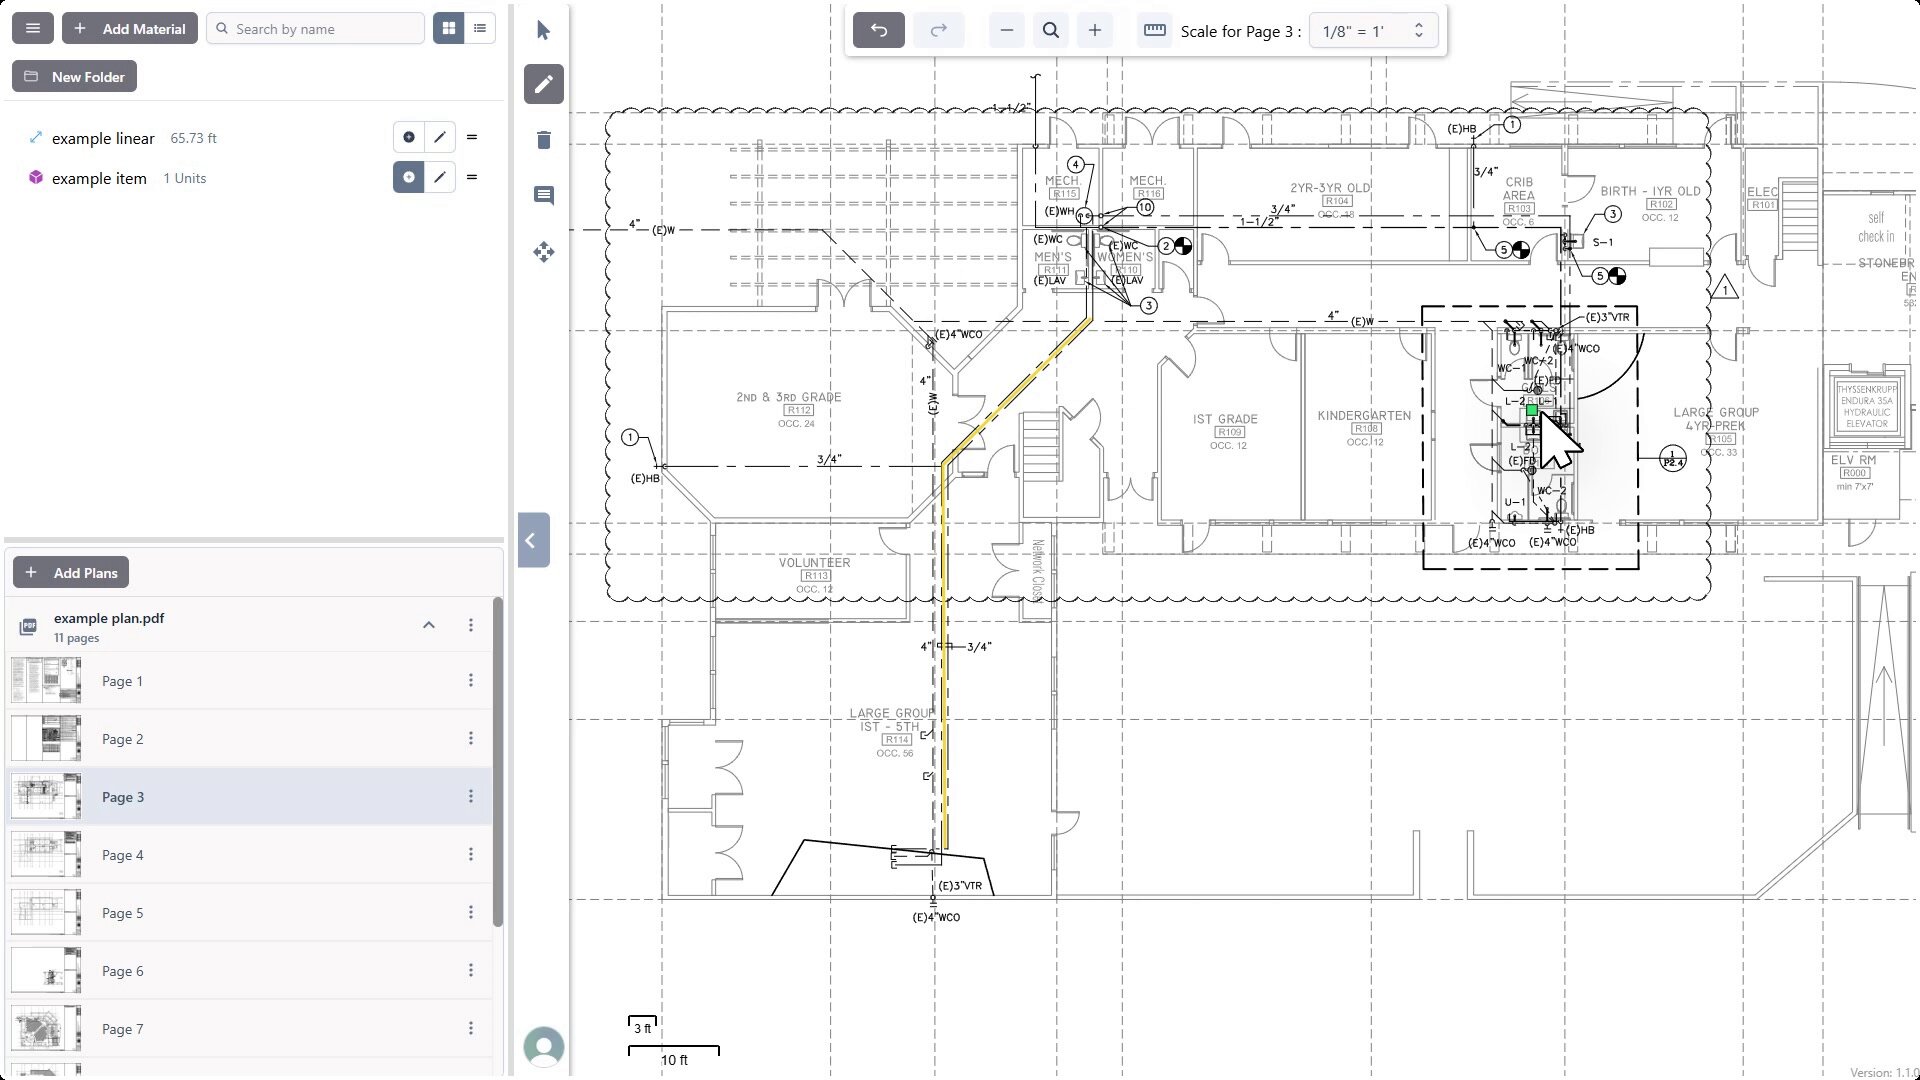
2.3 Performing Takeoffs
Once materials are defined, you can measure them on the plan.
Select the Material: Click on the material you want to measure in the top-left panel (e.g., "example linear"). Its associated tool on the right toolbar will likely become active.
Perform Measurement:
- Linear: Click points on the canvas to draw lines or polylines following the item you are measuring. The length accumulates as you draw. Double click (or press Enter) to finish the current segment.
- Item Count: Click on each location on the plan where the item occurs. Each click adds one unit to the count.
- Area: Click points on the canvas to draw a polygon defining the boundary of the area. Click the starting point or double-click to close the polygon. The area will be calculated and often displayed within the shape.
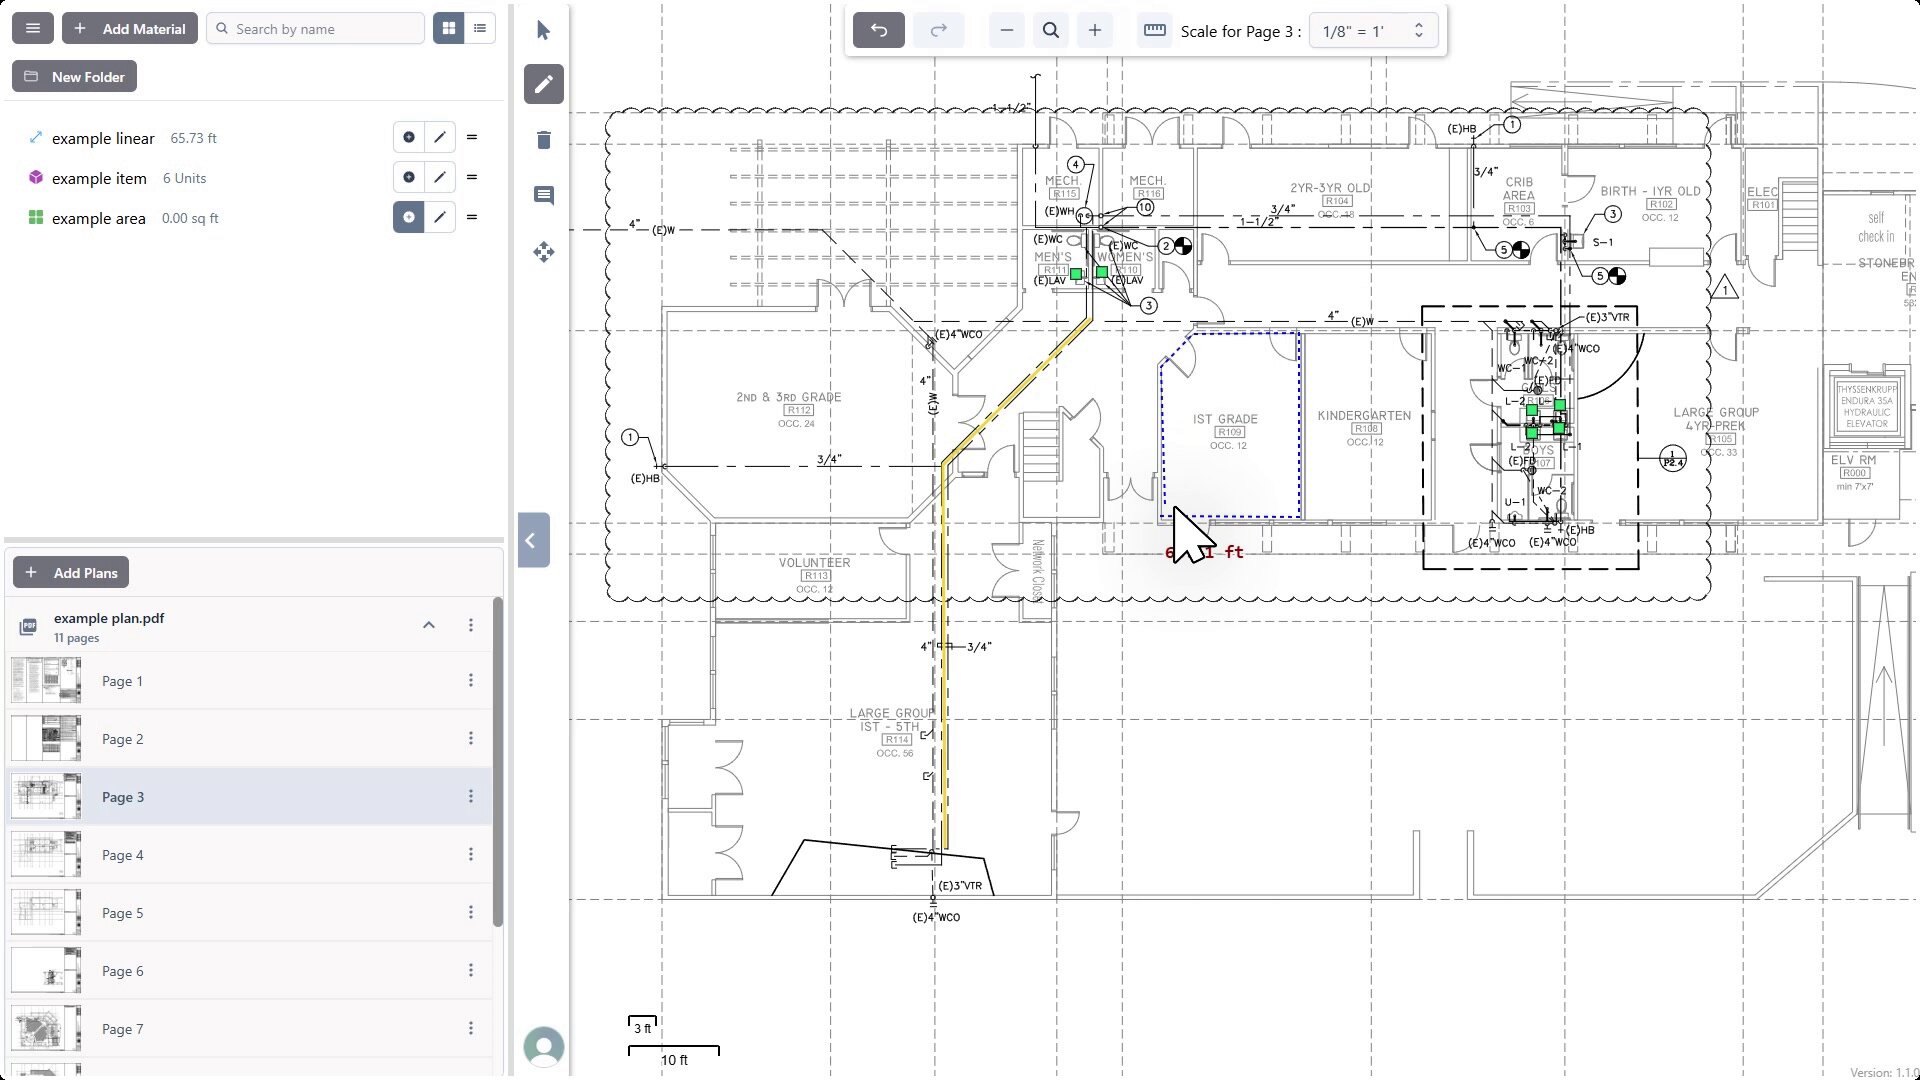
View Quantity: The measured quantity (length, count, or area) will update in real-time next to the material name in the top-left panel.
2.4 Organizing Materials with Folders
You can group related materials together using folders.
Click the + New Folder button in the top-left panel.
Enter a Folder name in the dialog and click Create.
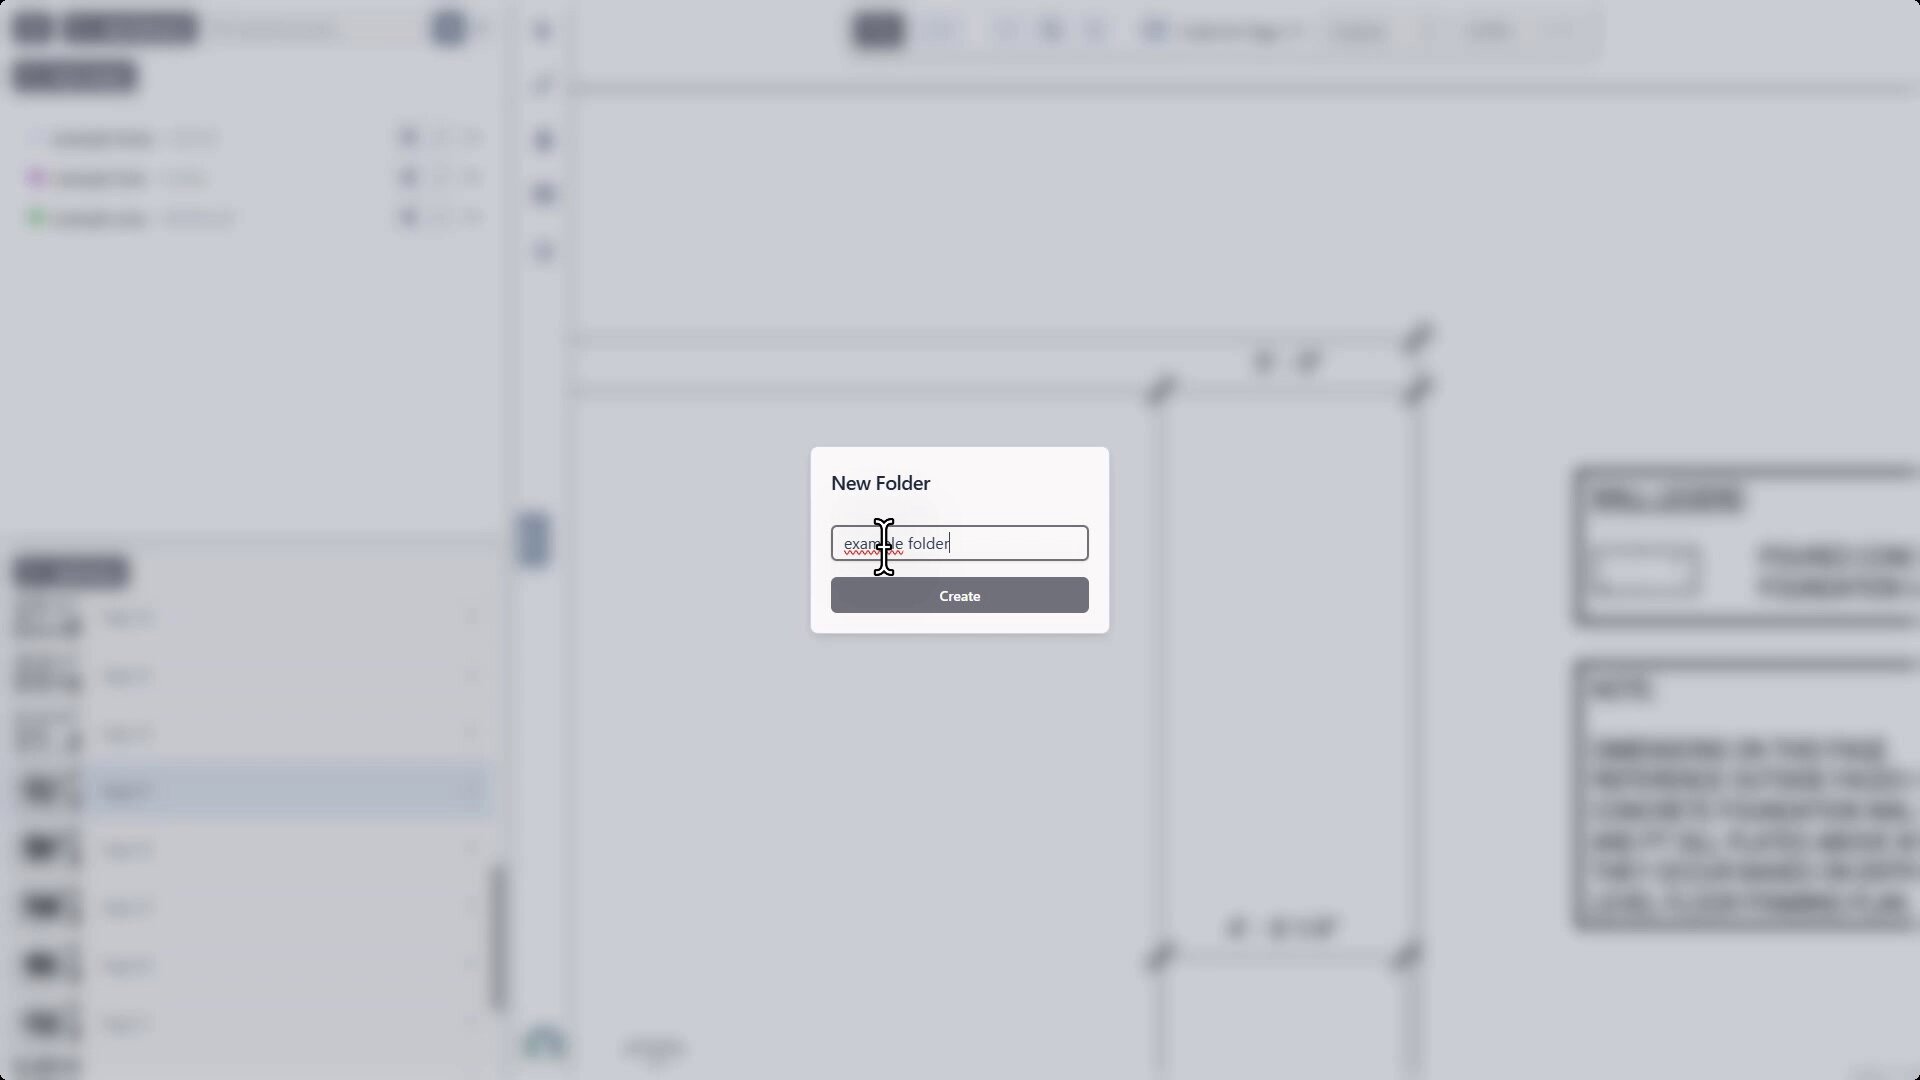
Drag and drop existing materials from the list onto the newly created folder name to move them inside.

Click on the folder name to expand or collapse its contents. You can also place a folder inside another folder.
2.5 Advanced Scaling Options
Palysse offers flexible scaling for complex drawings.
Multiple Scales on One Page:
- Navigate to a page containing details drawn at different scales (e.g., Page 16).
- In the top toolbar, select Multiple Scales from the scale dropdown.
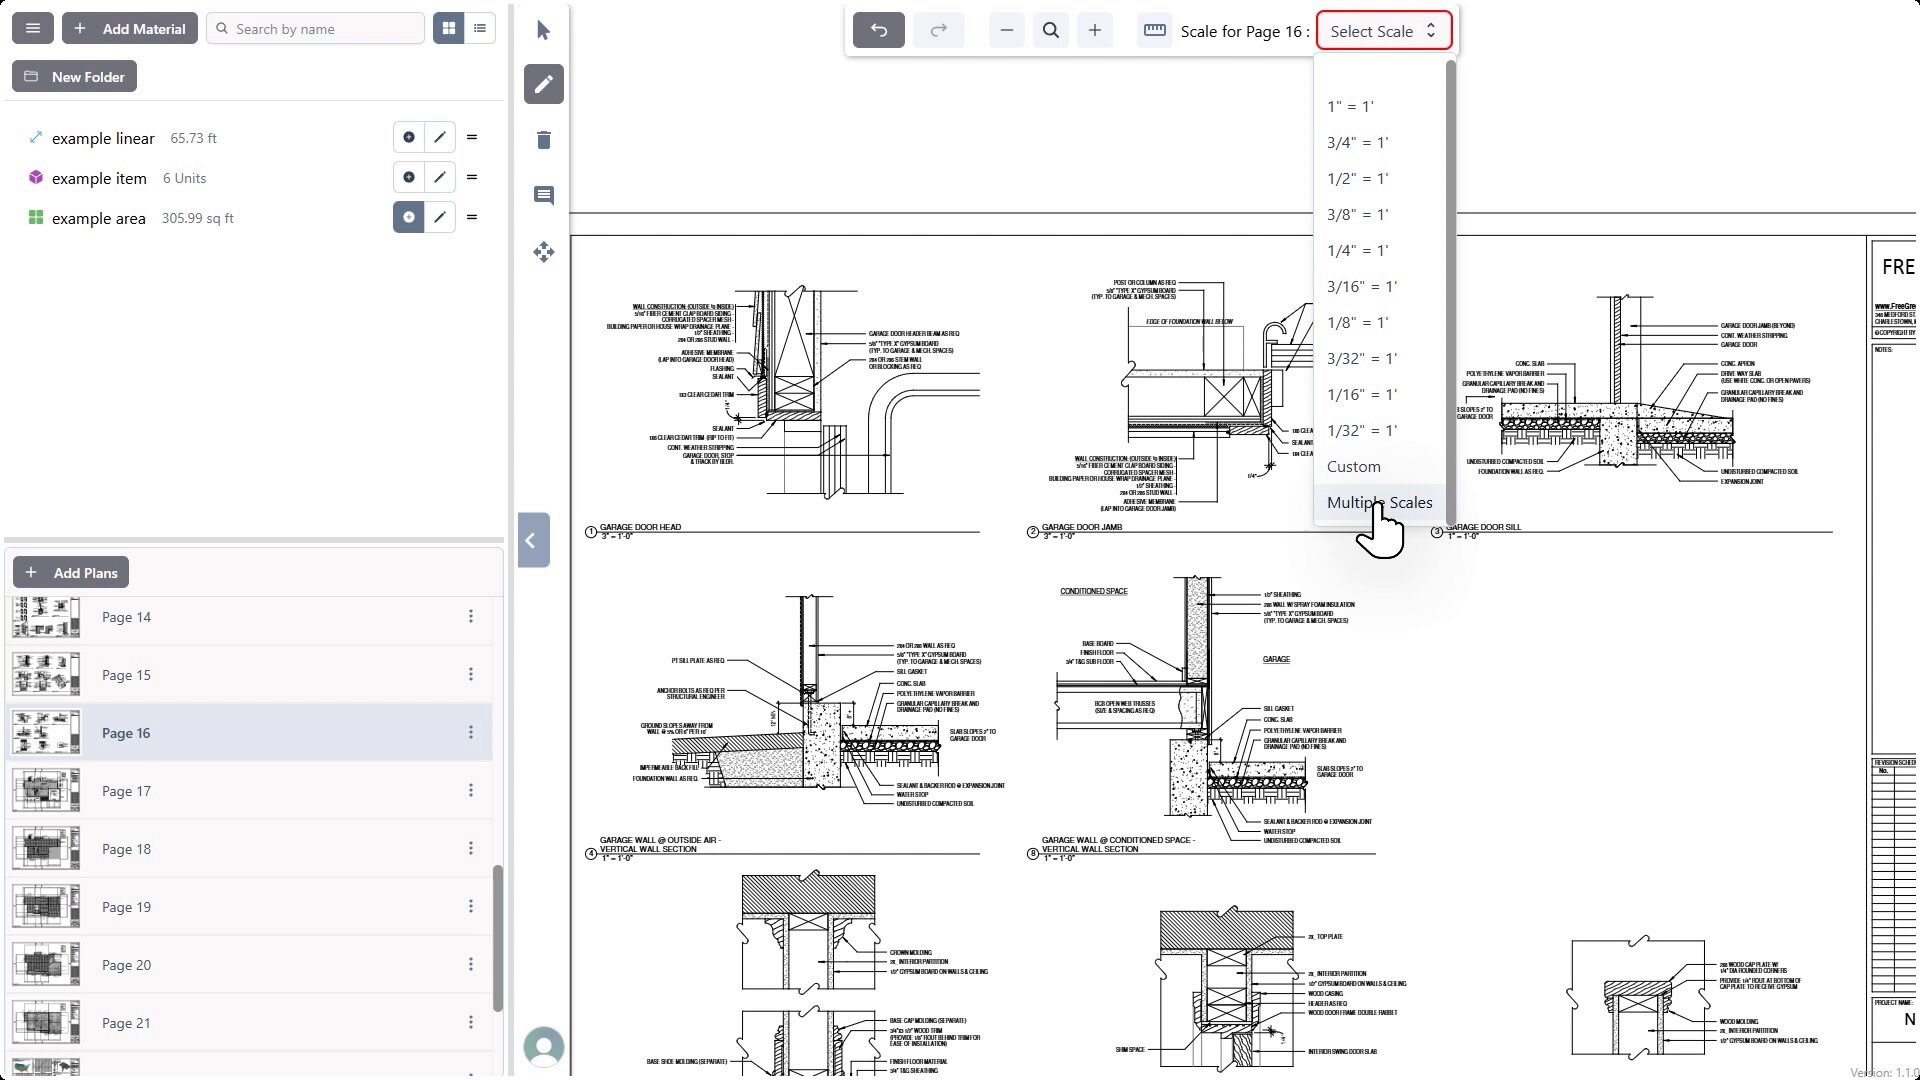
- Click and drag to draw a rectangle around the first detail area.
- An Enter scale for area dialog appears. Select or enter the correct scale for this specific area (e.g., Custom: 3 inches = 1 foot) and click Set.
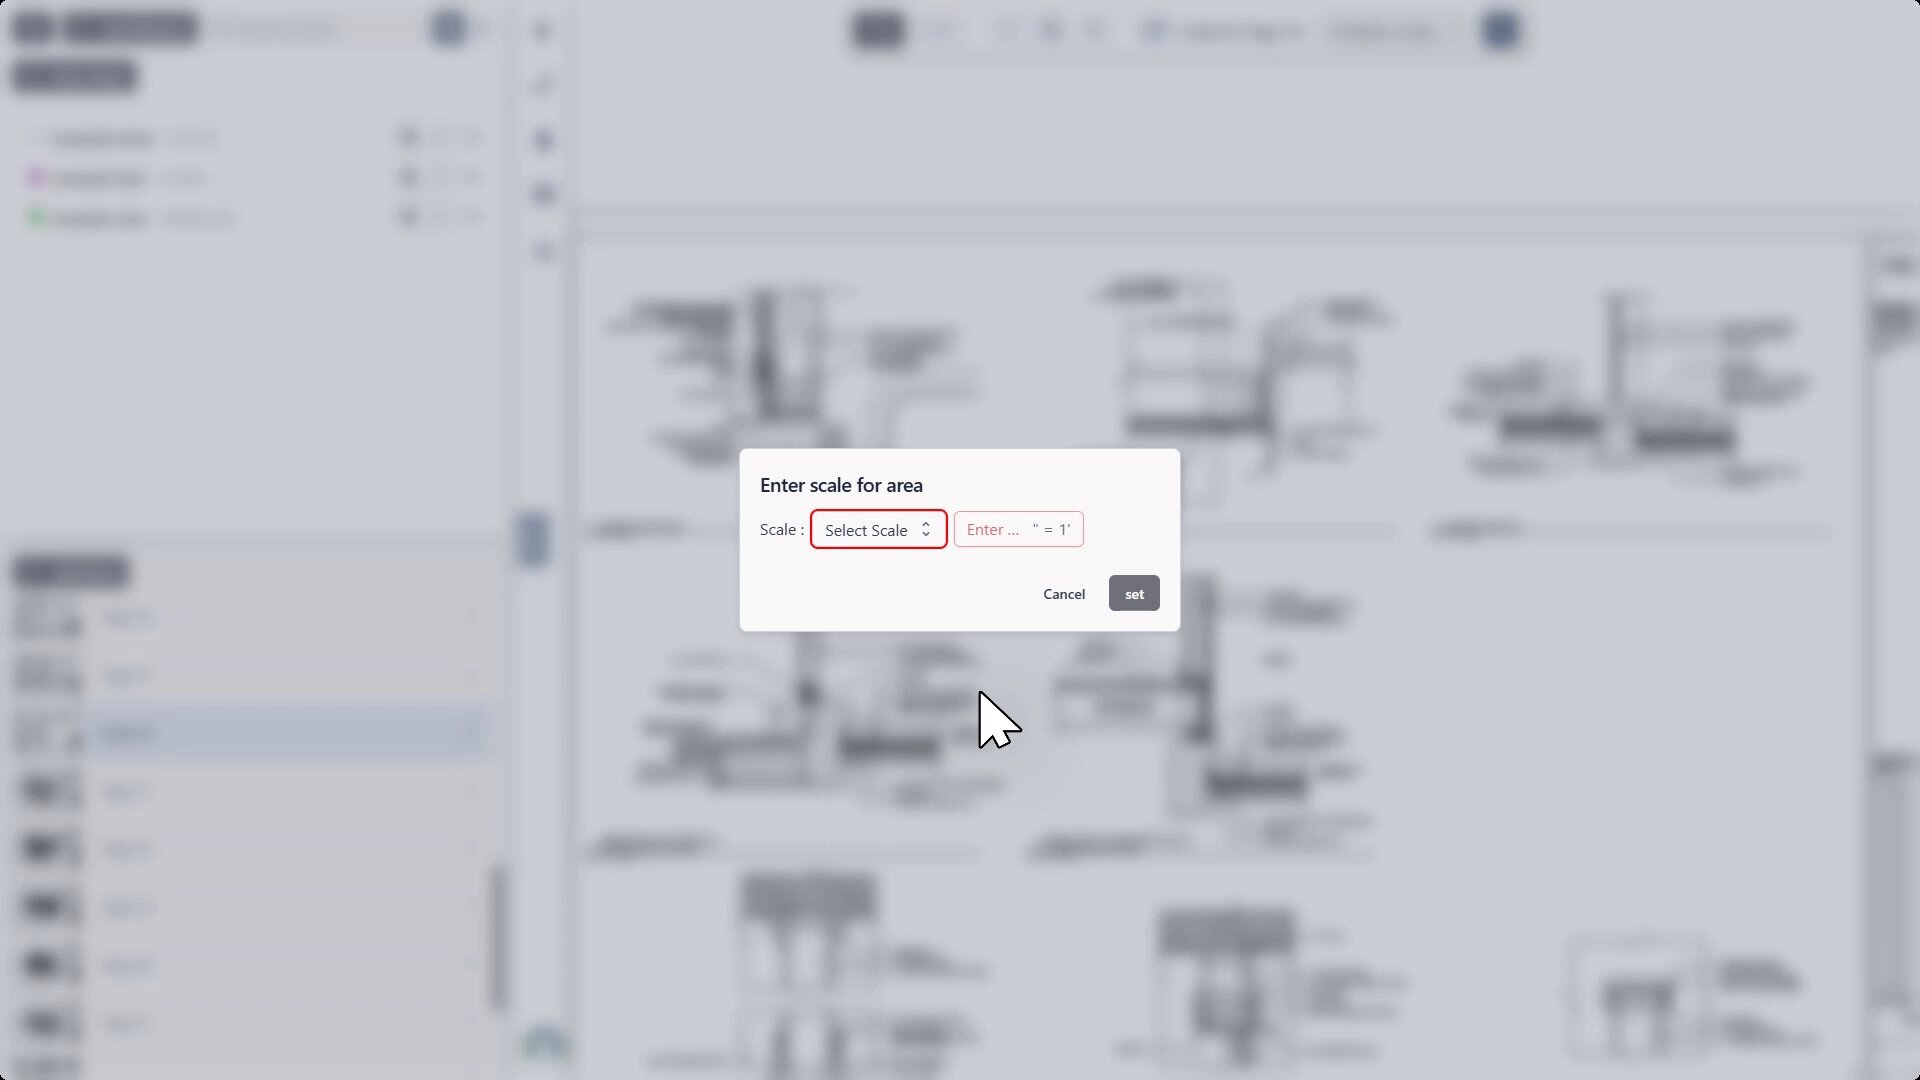
- Click the + button next to the "Multiple Scales" dropdown in the top bar ("Add scale to specific area").
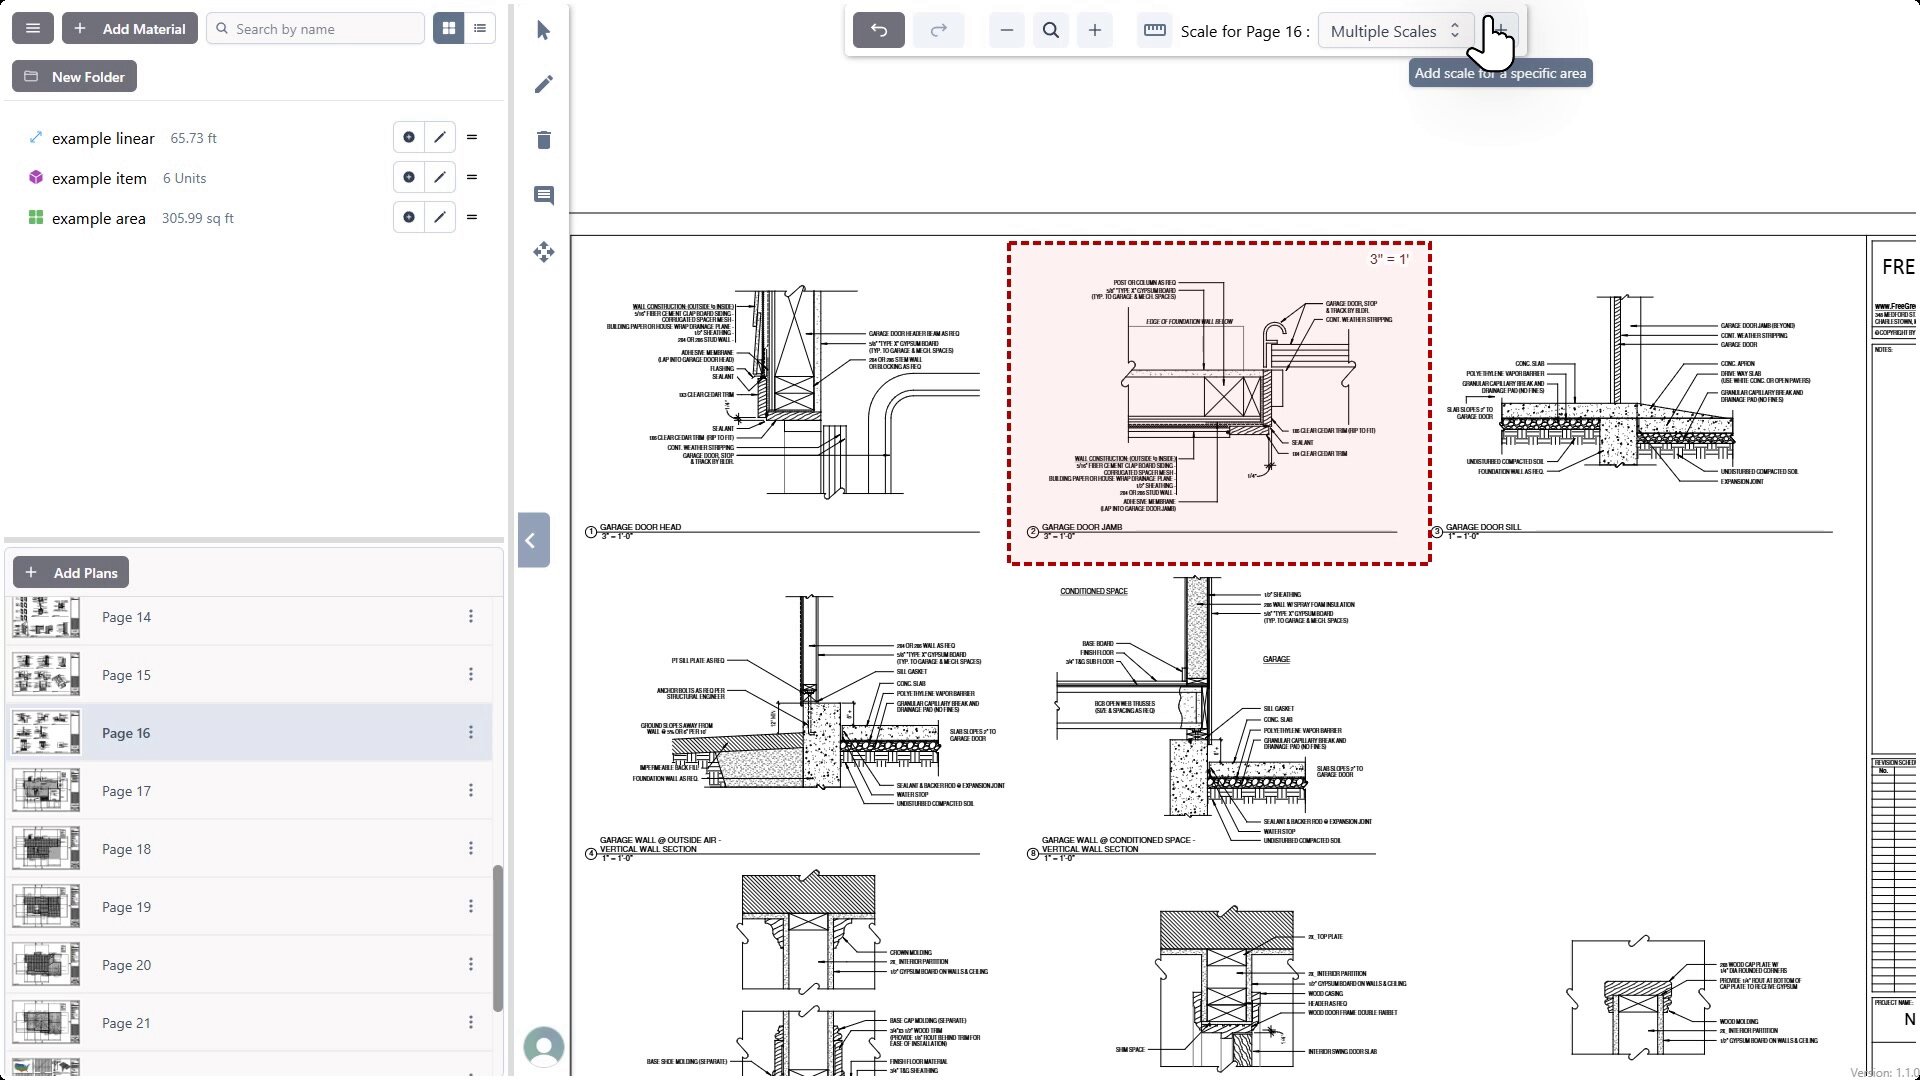
- Click and drag to define the next area with a different scale.
- Set the scale for this second area (e.g., 1" = 1') and click Set.
- Repeat as needed for all differently scaled areas on the page. Each area will be visually marked, and any takeoffs performed on that area will use the correct scale.
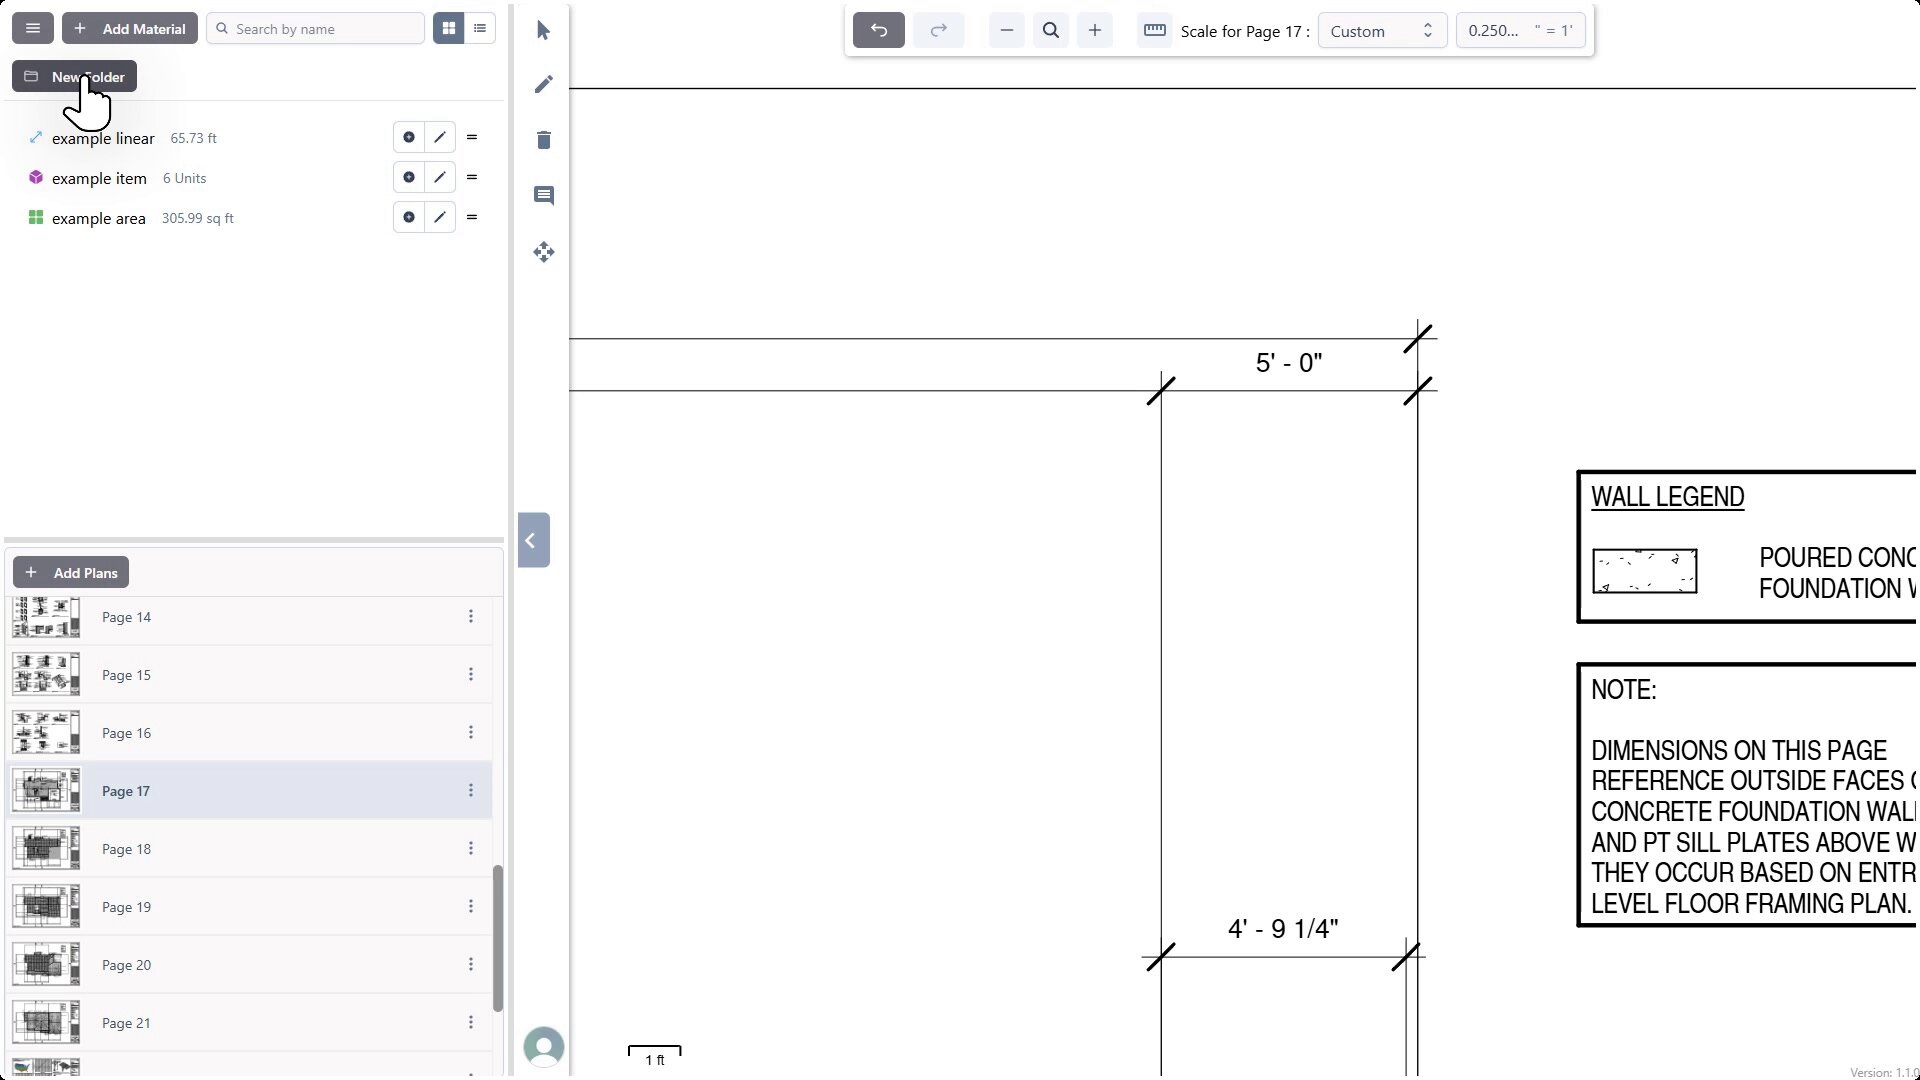
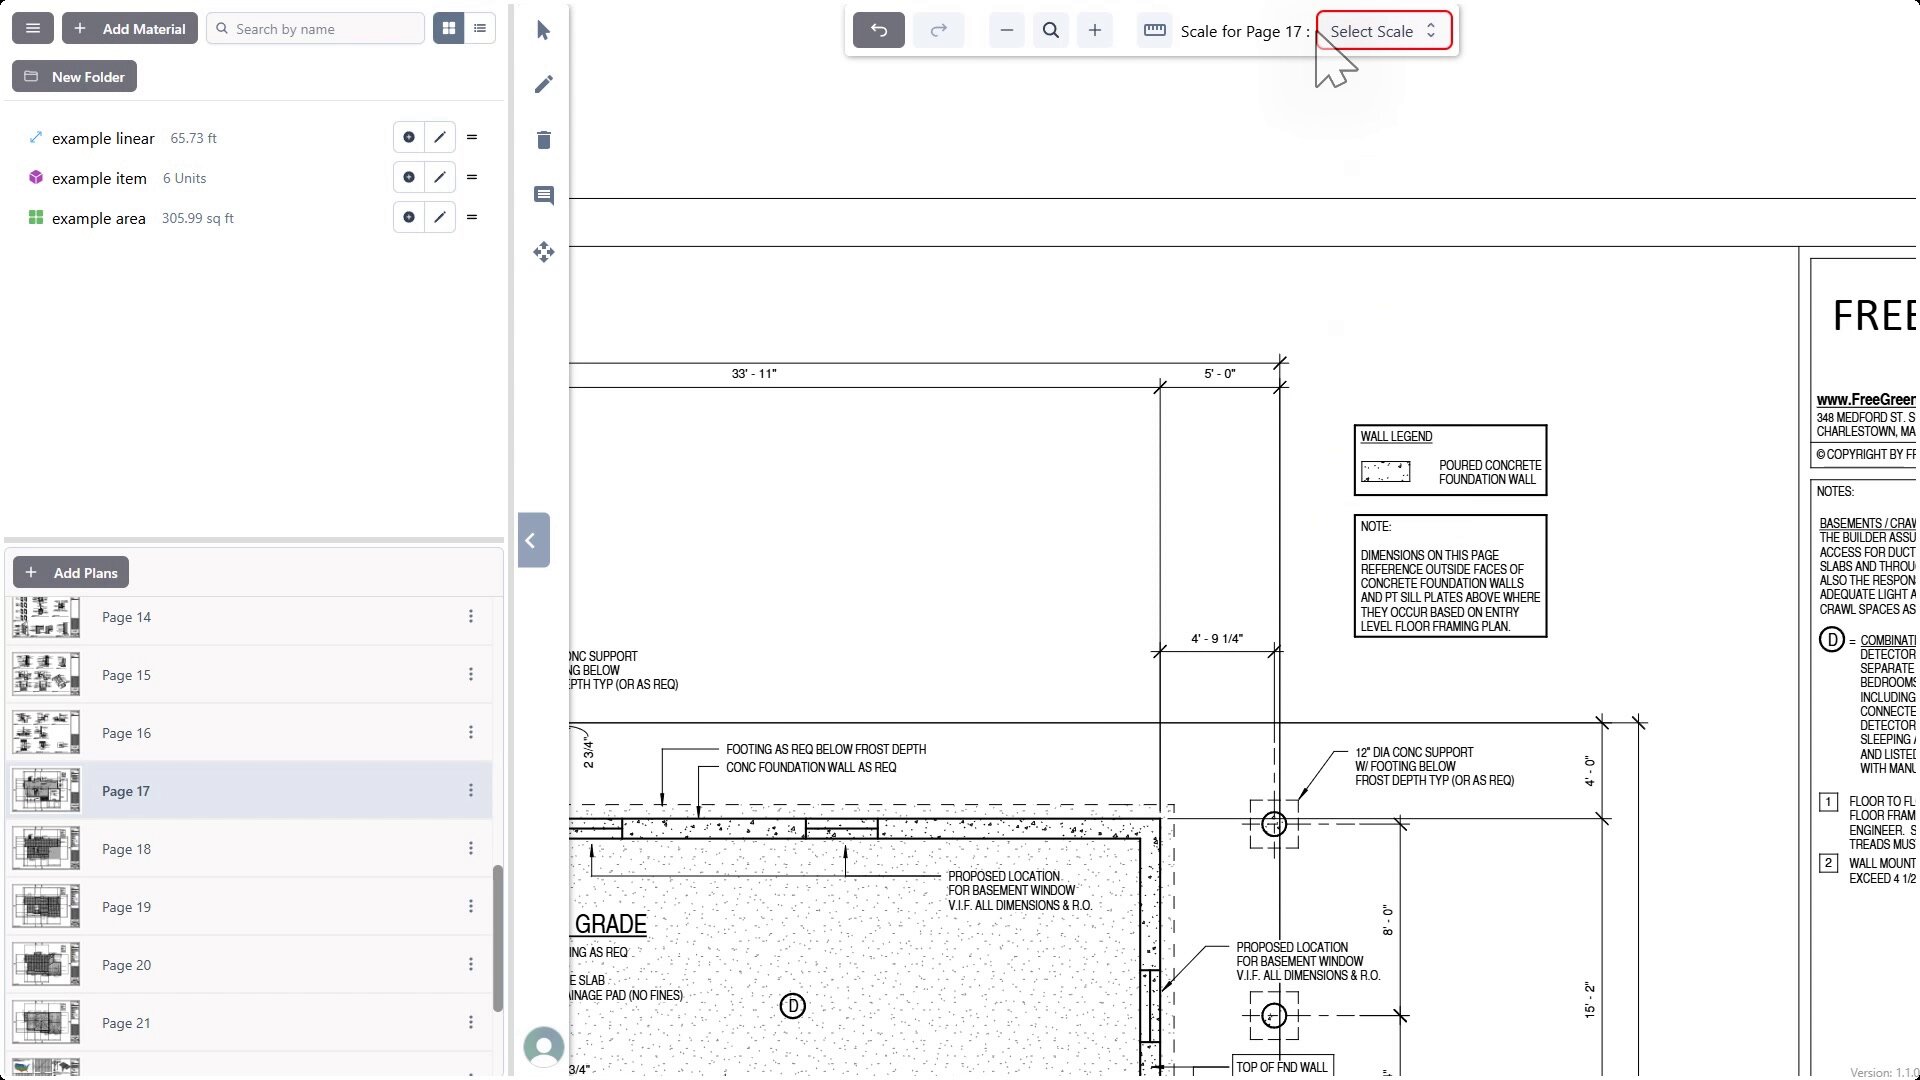
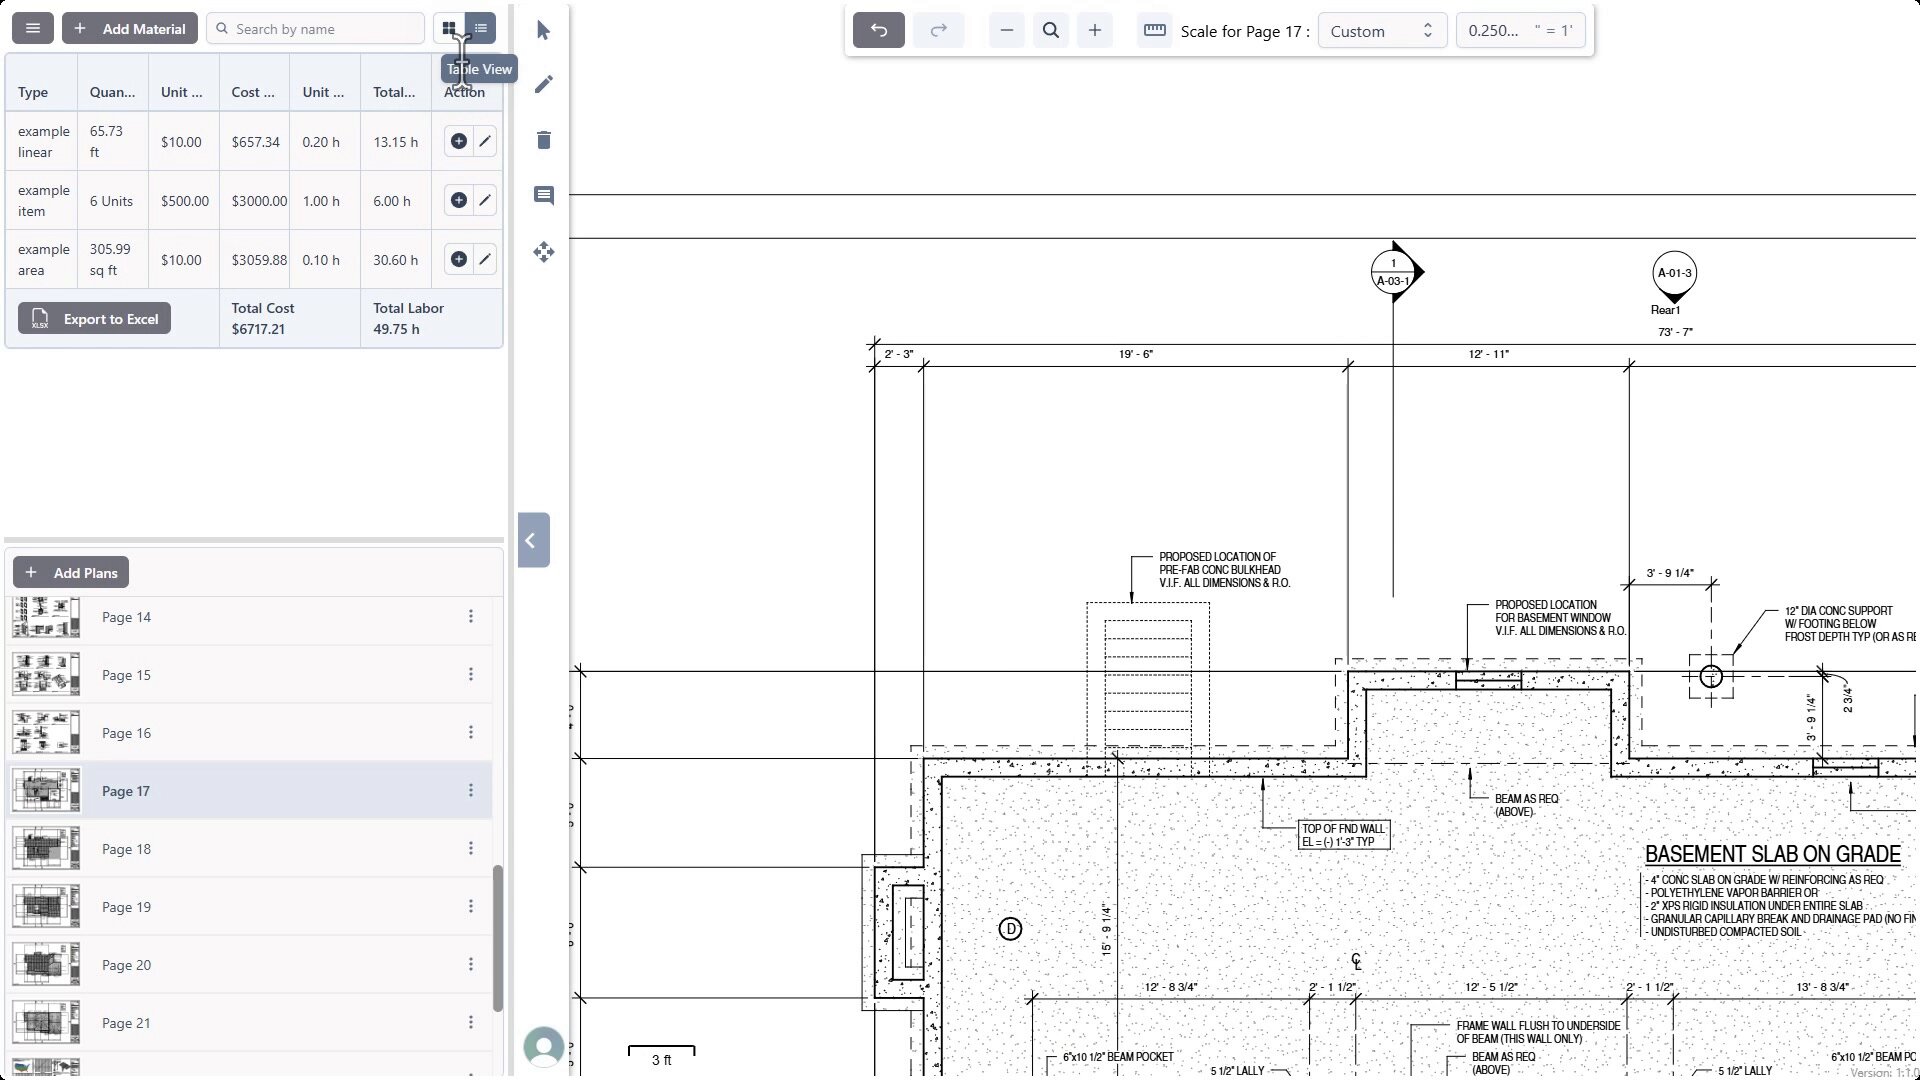
Setting Scale from Known Length:
- Navigate to the page where you want to set the scale (e.g., Page 17).
- Find a dimension line on the drawing with a clearly marked length (e.g., 5'-0").
- Click the Custom option in the main scale dropdown.
- Click the adjacent Set scale with known length button (ruler icon).
- In the Confirmation dialog, enter the known length (e.g., "5" ft) and click Proceed.
- The cursor changes, prompting you to draw the line. Click the start point and then the endpoint of the dimension line on the drawing that corresponds to the known length.
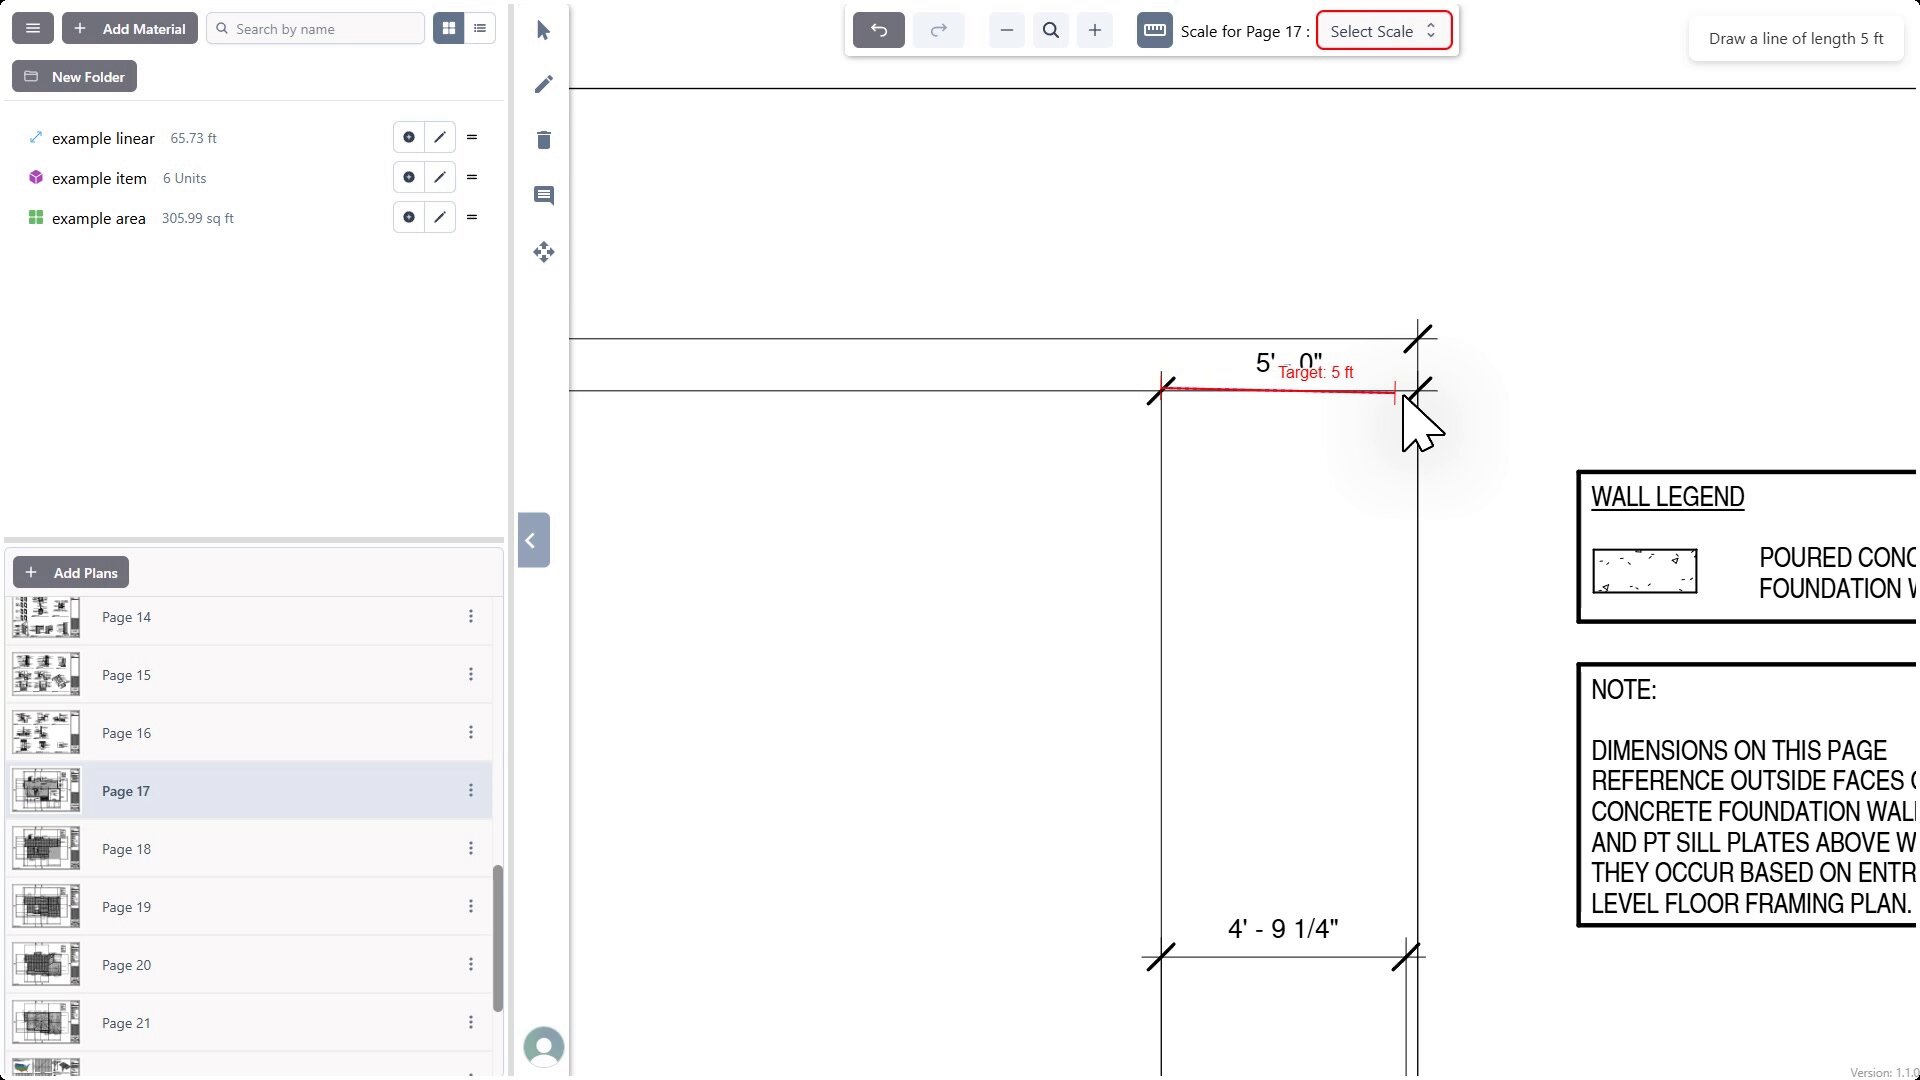
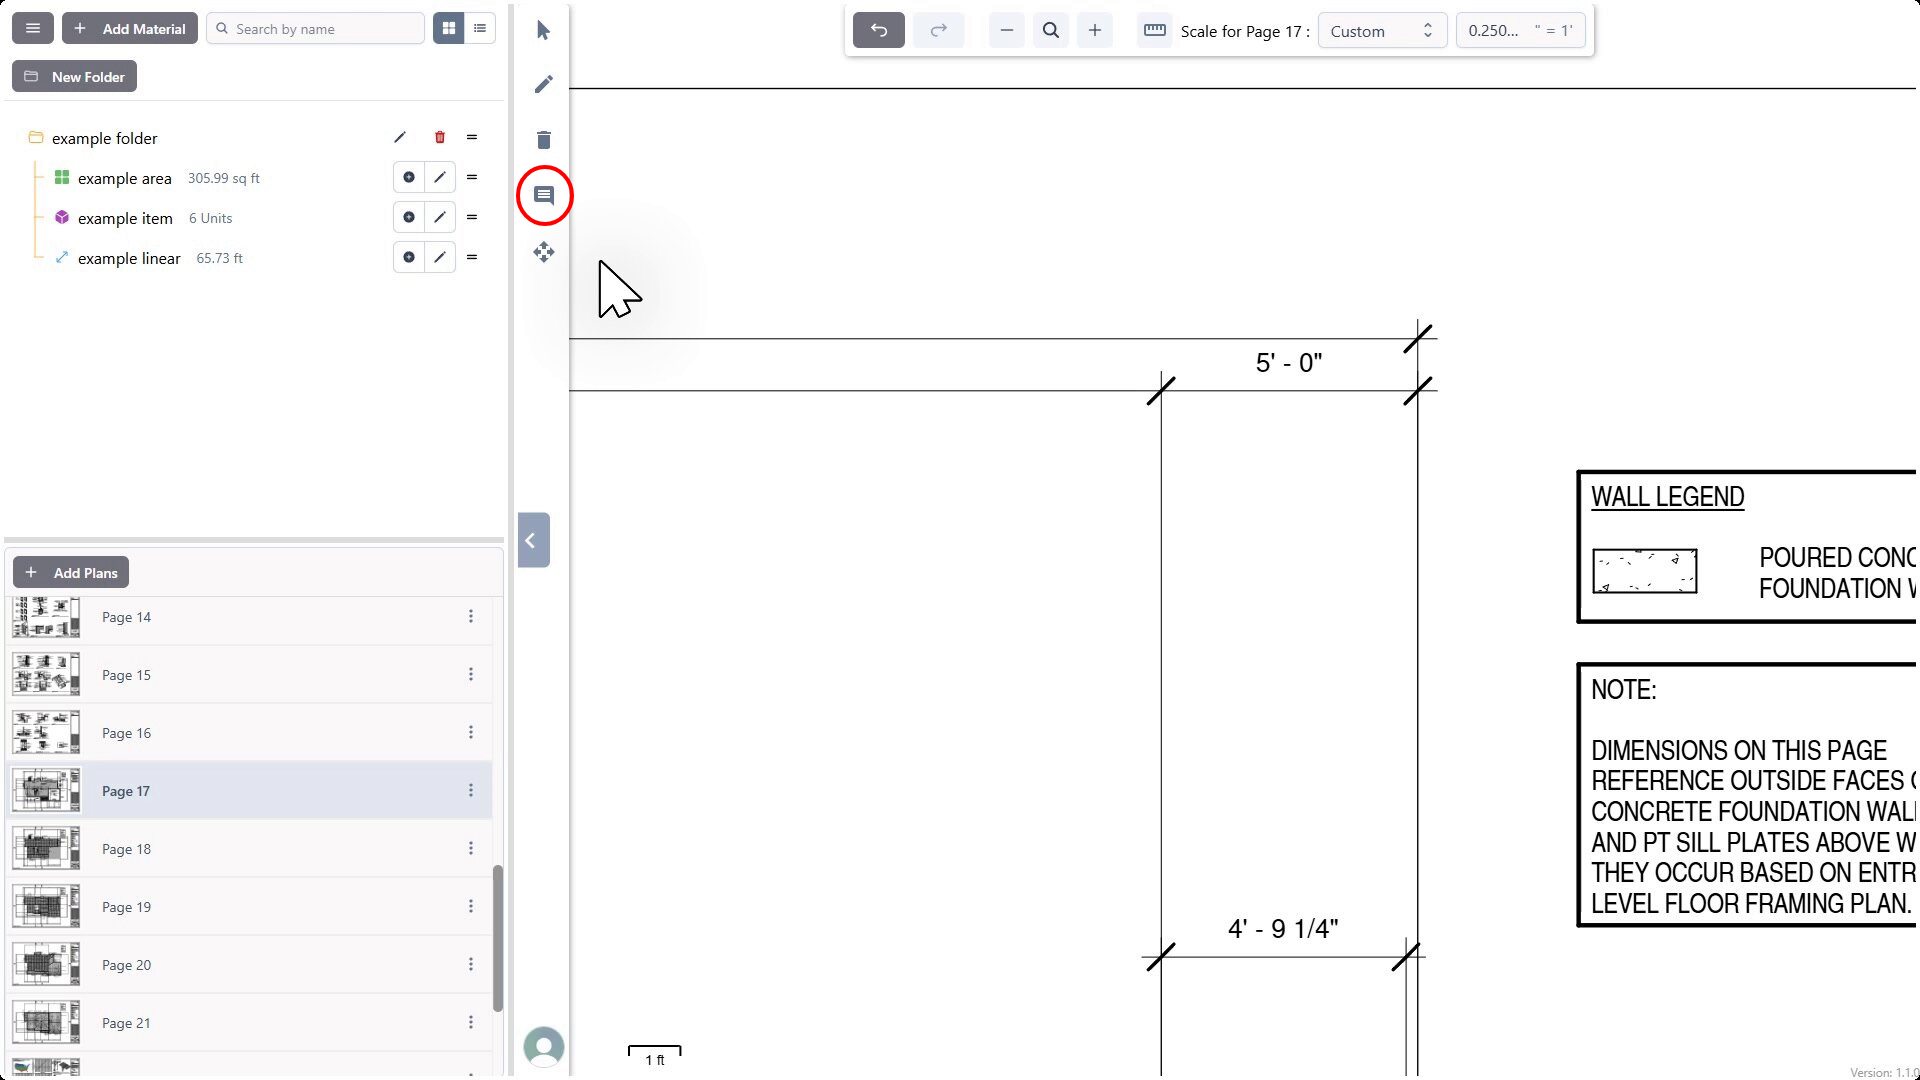
- A "Scale set successfully" confirmation will appear, and the scale will be automatically calculated and applied to the page.
2.6 Adding Notes
To the right-hand toolbar includes an Add note tool (sticky note icon) for placing text annotations on the plan. You can add notes to the plan by clicking on the note icon and then clicking on the canvas where you want to add the note.
3. Reviewing and Exporting
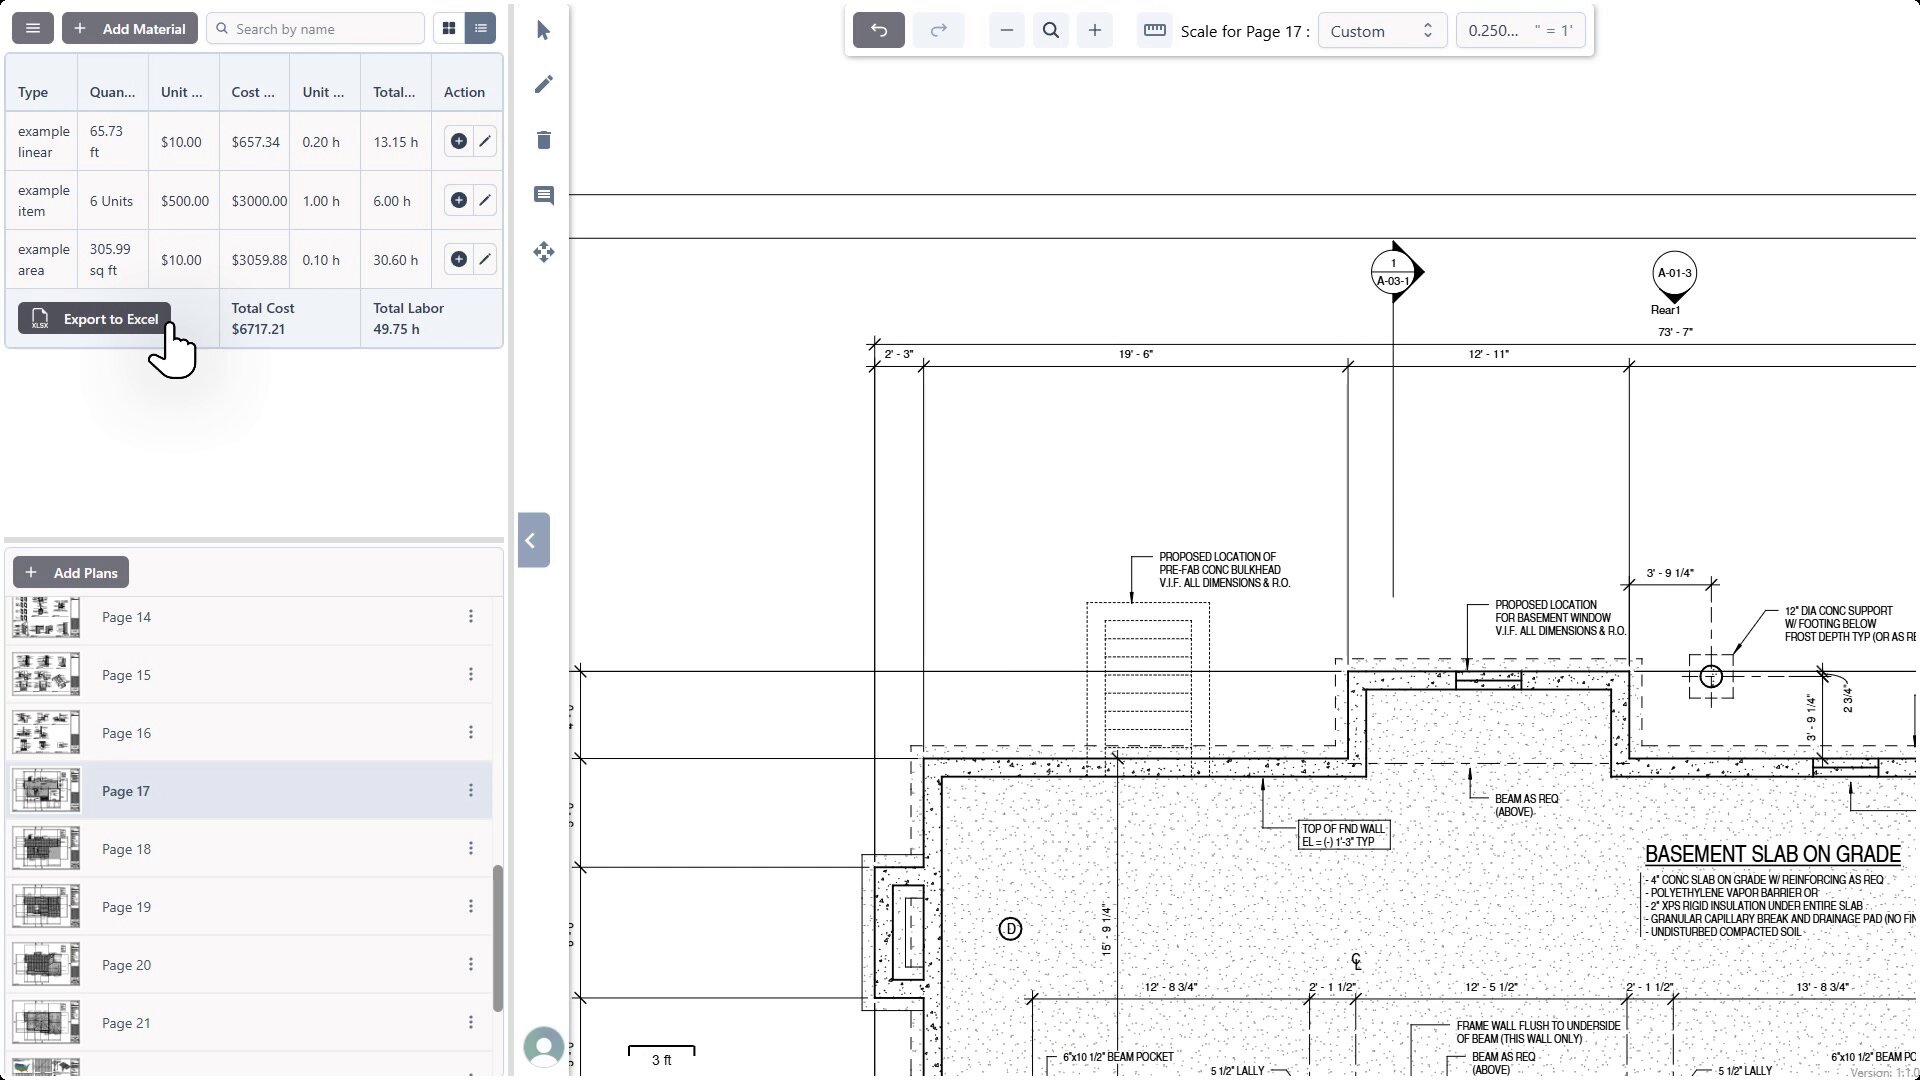
3.1 Viewing the Estimate Summary
In the top-left panel (where materials are listed), click the Estimate icon (often looks like a grid or table).
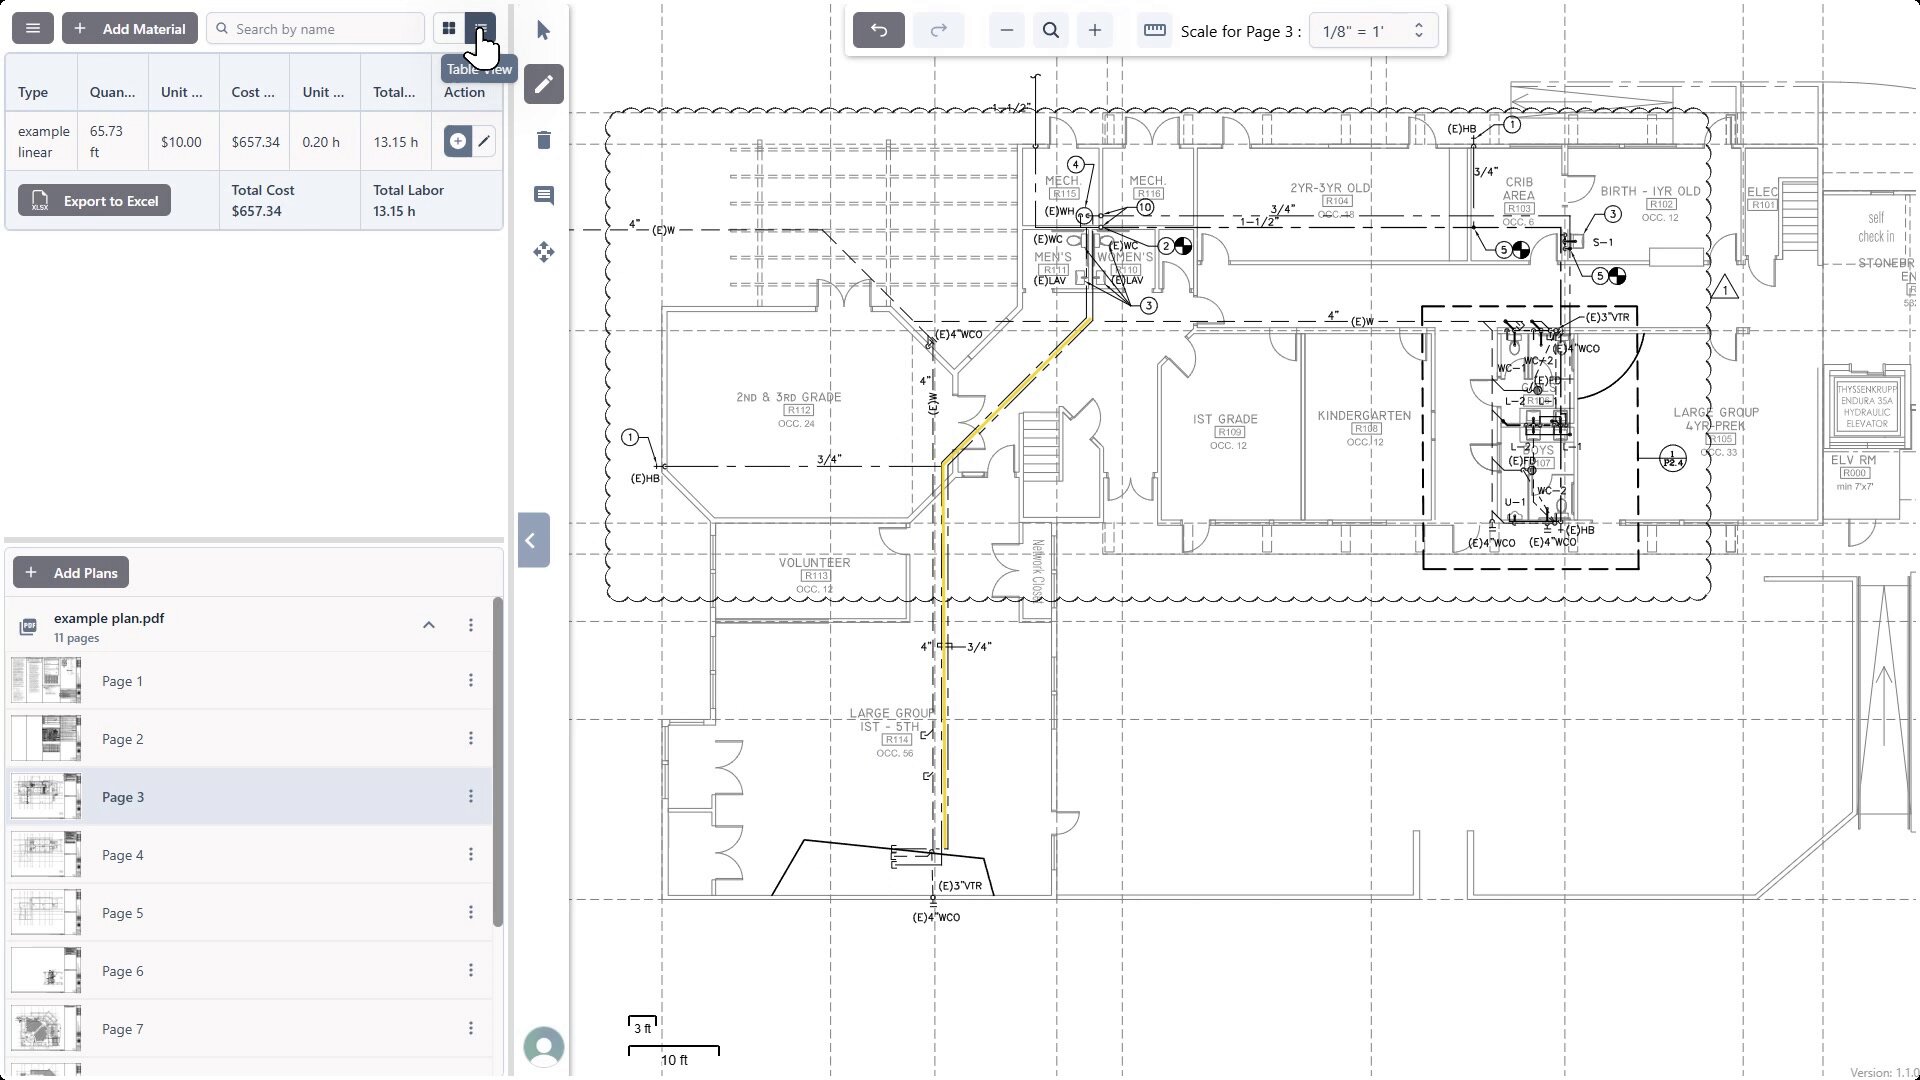
The view changes to display a summary table. This table lists all the materials/items you've measured, along with their:
- Type (Linear, Item, Area)
- Quantity (Total measured value)
- Unit (ft, Units, sq ft)
- Cost/Unit
- Unit Cost (likely same as Cost/Unit shown)
- Total Cost (Quantity * Cost/Unit)
- Labor/Unit
- Total Labor (Quantity * Labor/Unit)
Overall Total Cost and Total Labor for the entire project (or page, depending on scope) are typically displayed at the bottom.
3.2 Exporting to Excel
While viewing the Estimate Summary, locate and click the Export to Excel button.
The takeoff data will be compiled and downloaded as an Excel (.xlsx or similar) file. Your browser will indicate the download has started.